|
I have been creatively engaged on so many fronts in the last few months, I am way behind in describing how the developments came about. Let’s go back a bit. After accomplishing my goal of making 24 hats based on shibori within 12 months, it occurred to me that it was time to stop forging ahead and instead acquire some of the basic traditional millinery skills I had blithely skipped on the way to originality. In June I took a three day workshop with Wayne Wichern, a master of millinery in Seattle for over 30 years. What does traditional millinery involve? The short answer is: Working with felt, straw and various other materials and shaping them over carved wooden hat blocks to create 3-dimensional forms. I made three hats during the workshop, one felt and two straw, but I'm only showing you the felt hat for now. This is the felt hat, presenting its "everyday look", folded down for a flatter appearance. 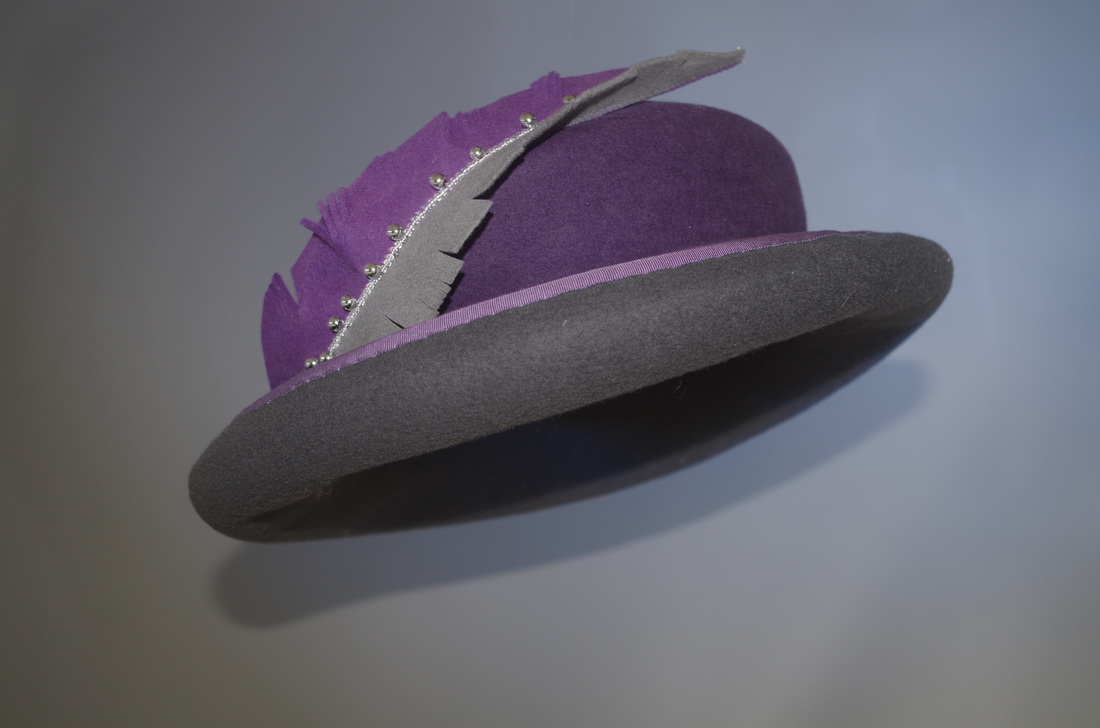 And here is the "up"scale version, unfolded for more height and impact. 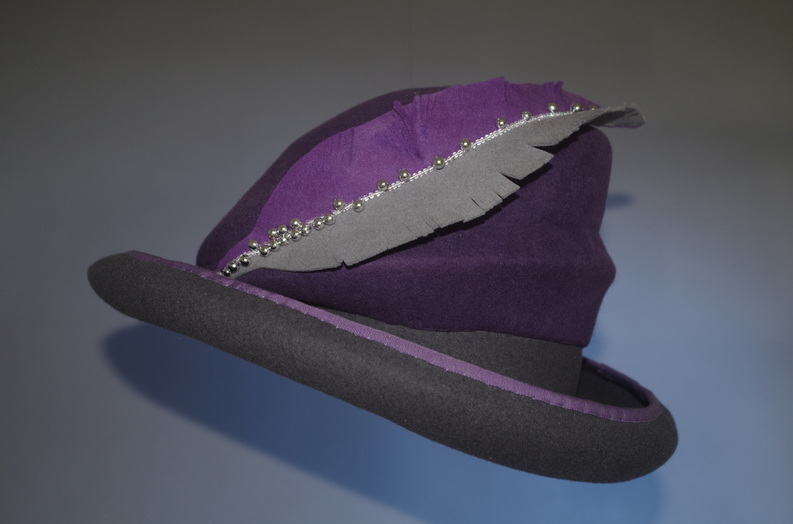 The picture on the right below shows the two complete shapes necessary to make the hat I wanted. Even when treading into new territory, it is almost impossible to leave behind one’s predilections and tendencies. So it was in this case. Not surprisingly, I was led to not just select one color for my first felt hat but two. I chose to make the crown out of purple felt and the brim out of grey felt. Not only did the two colors make the process more complicated, but I also chose an interesting asymmetrical pleated crown block. This choice evolved into a delightful surprise because eventually, with a little steaming and stretching, I was able to turn it into a “convertible” crown with two very different looks. One folded down “for everyday” and another one unfolded for more height and impact. 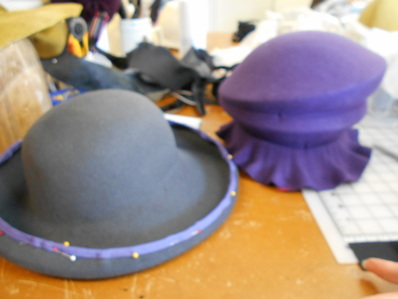 Below is the brim part in progress, bottom up. The center hides the provisional crown, upside down 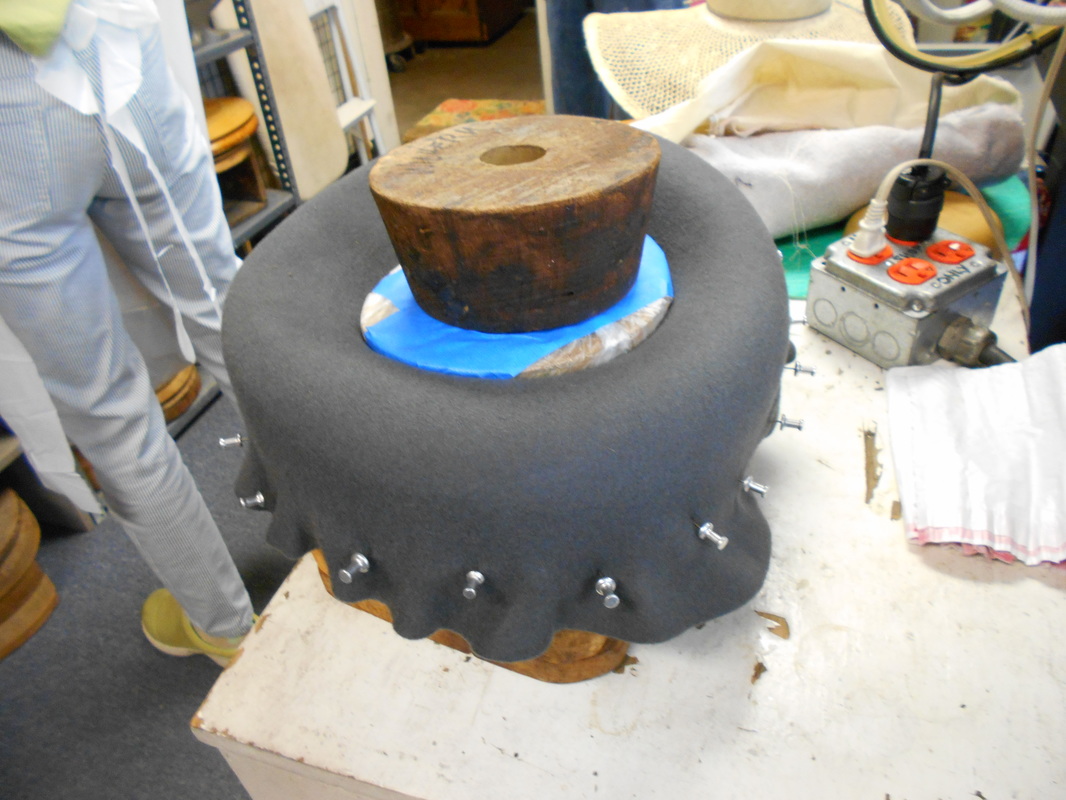 Below is the puzzle hat block I used to achieve the pleated crown. Traditional hat blocks are works of artful ingenuity designed to come apart to withdraw their volume from the concave shape of the new hat crown once it has been steamed and left to dry. 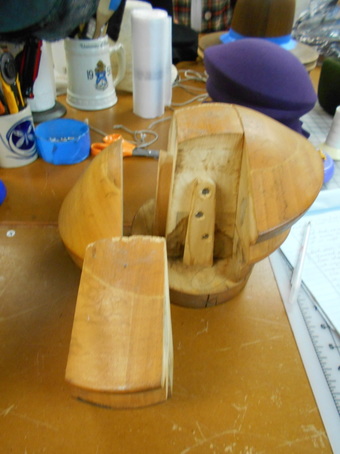 What is a hat without trim? Boooring! So, here is a new technique I learned: Use your leftovers (or someone else's) and create a felt feather embellished with beads to catch the light. 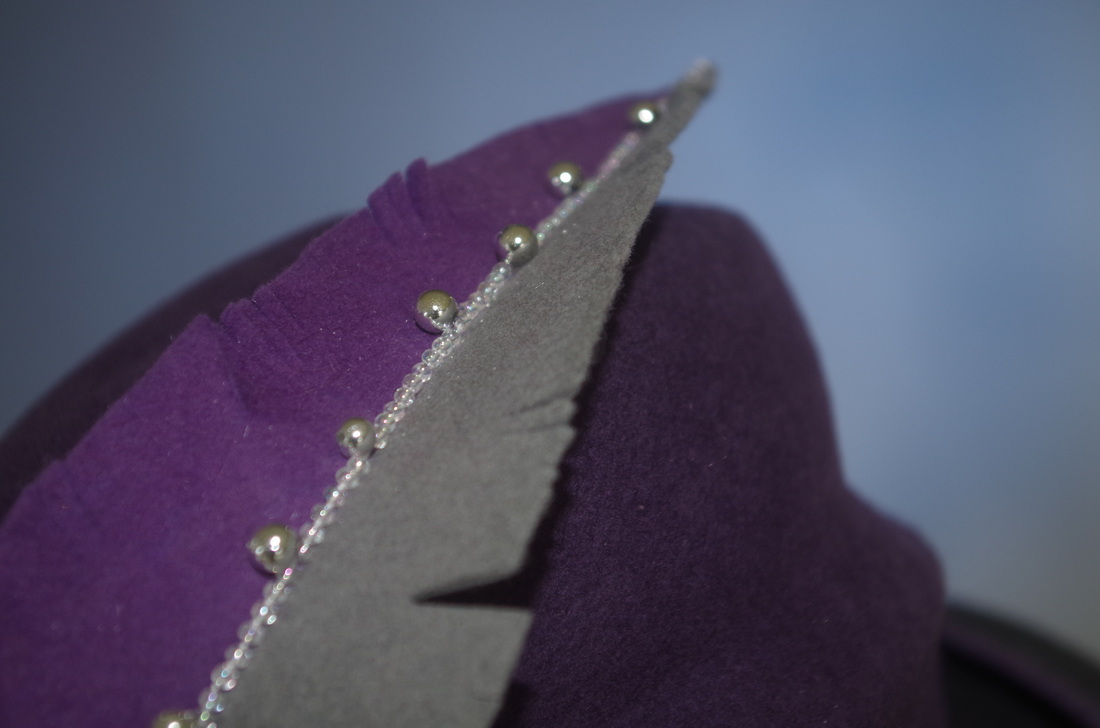 Wear hats! Enjoy Headonism!
0 Comments
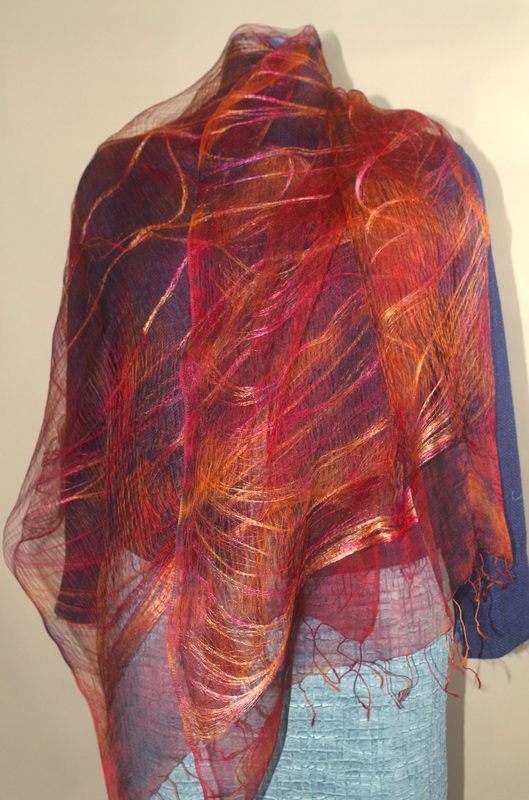
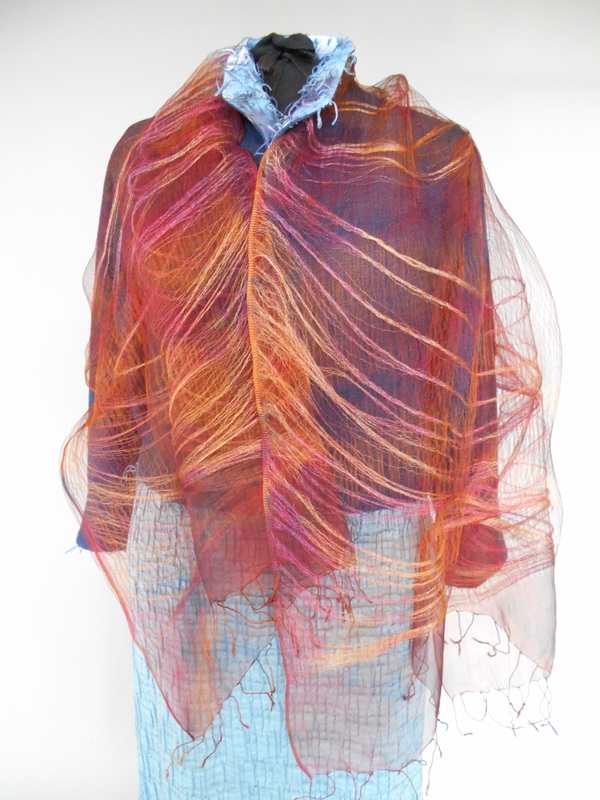
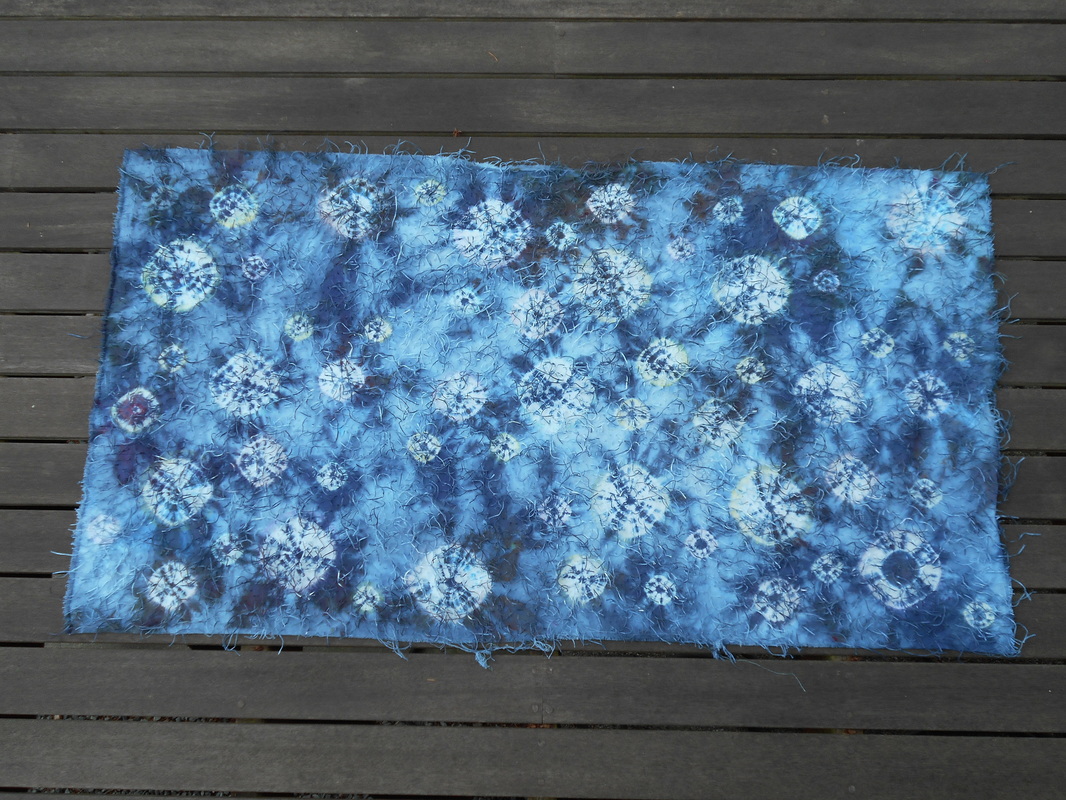
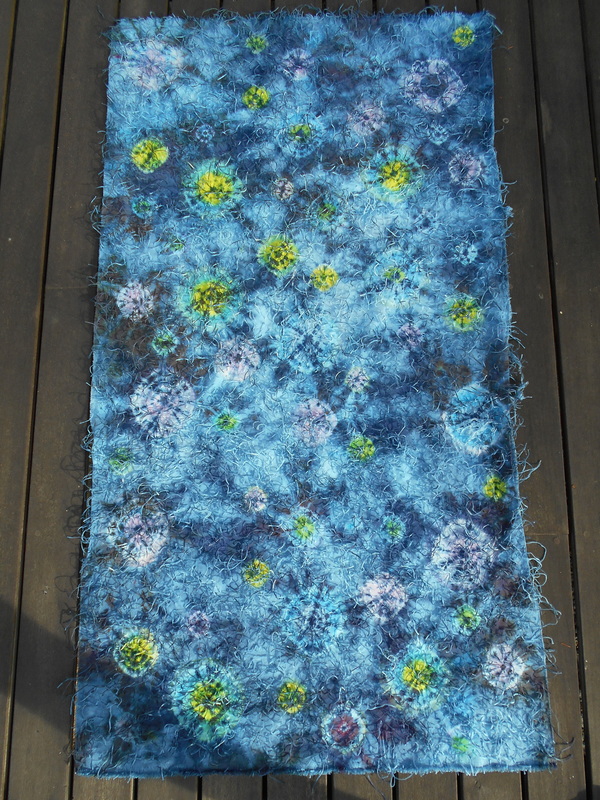
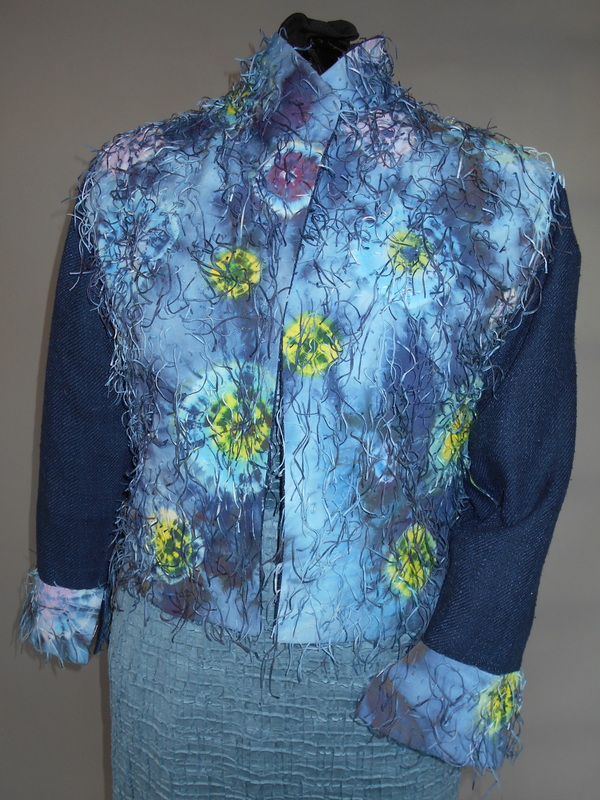
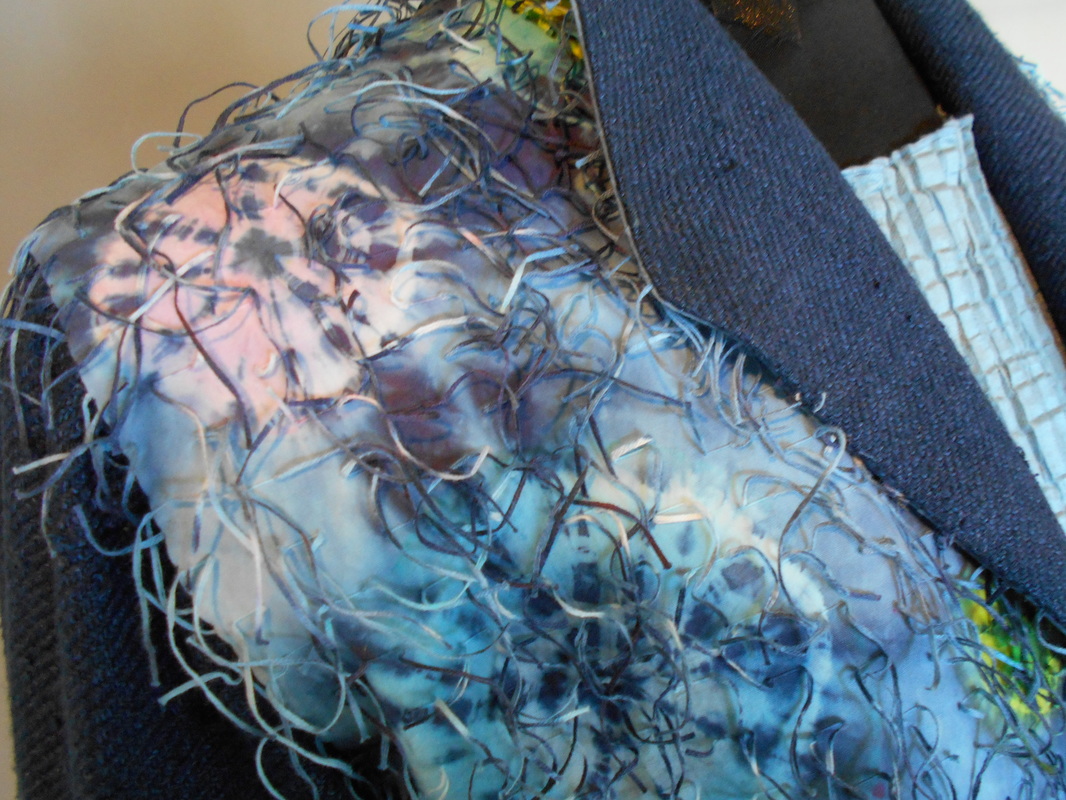
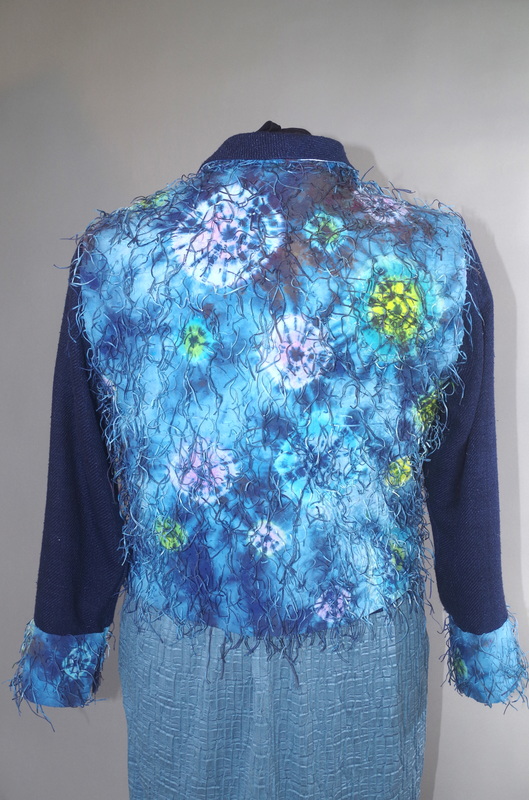
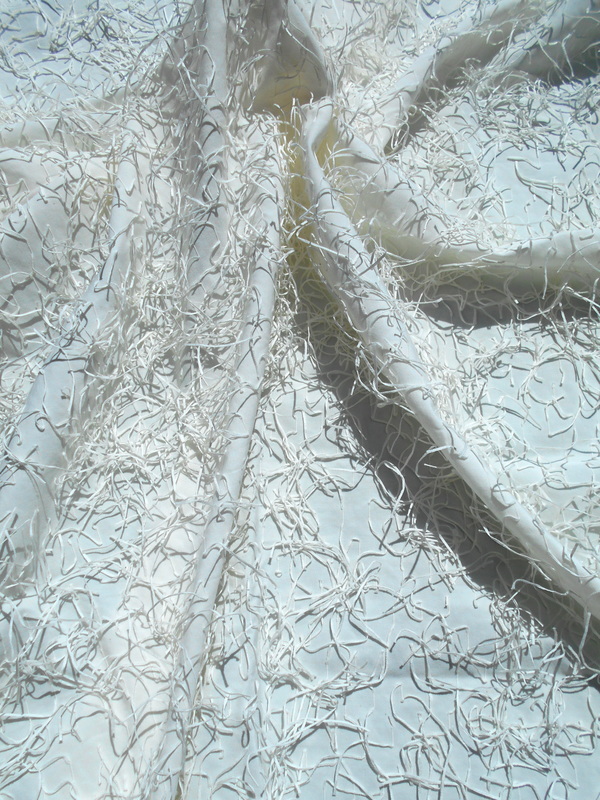
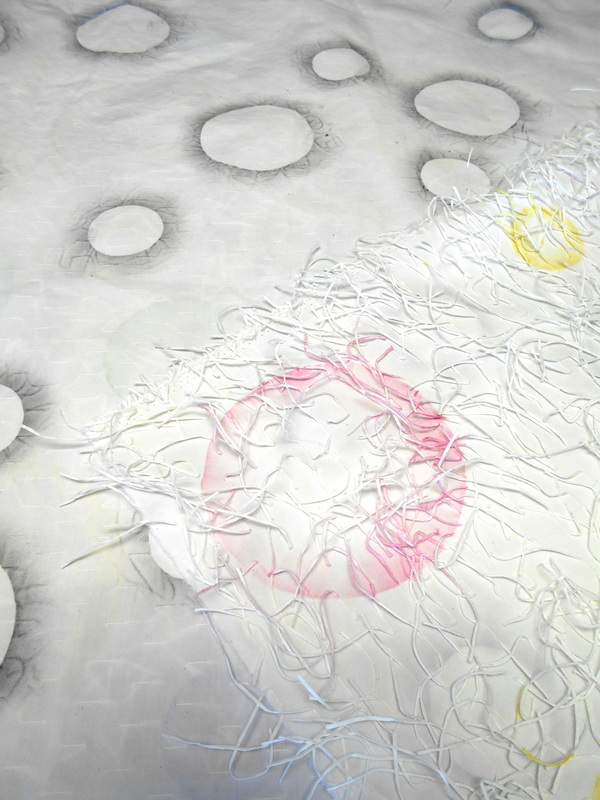
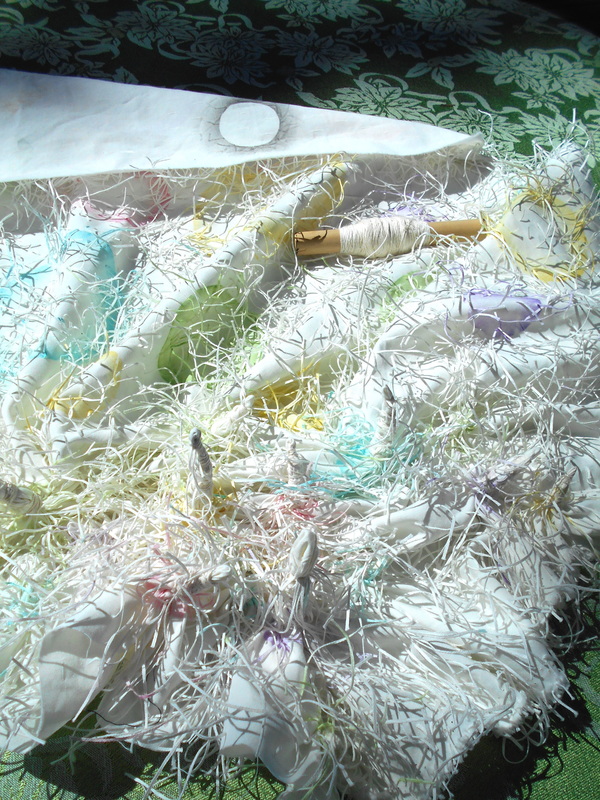
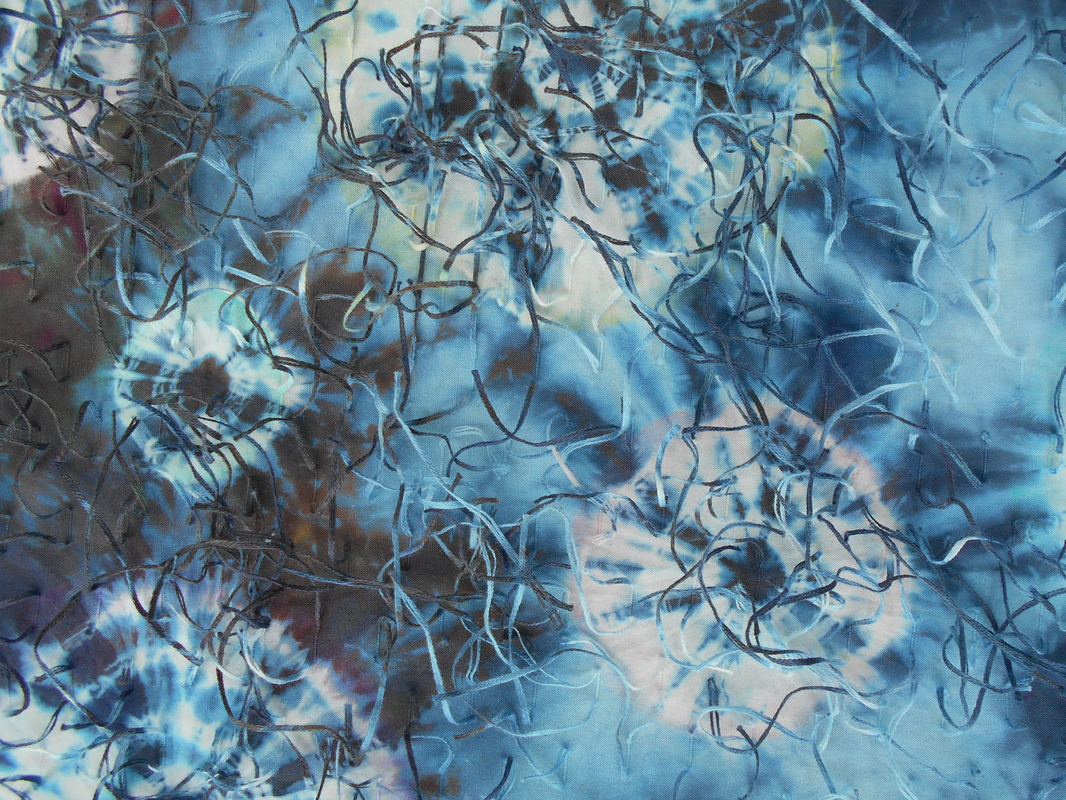
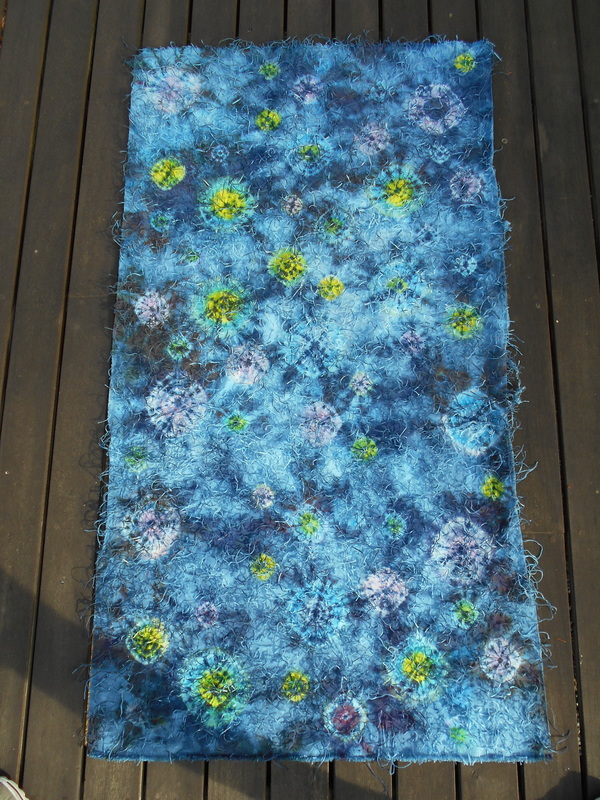
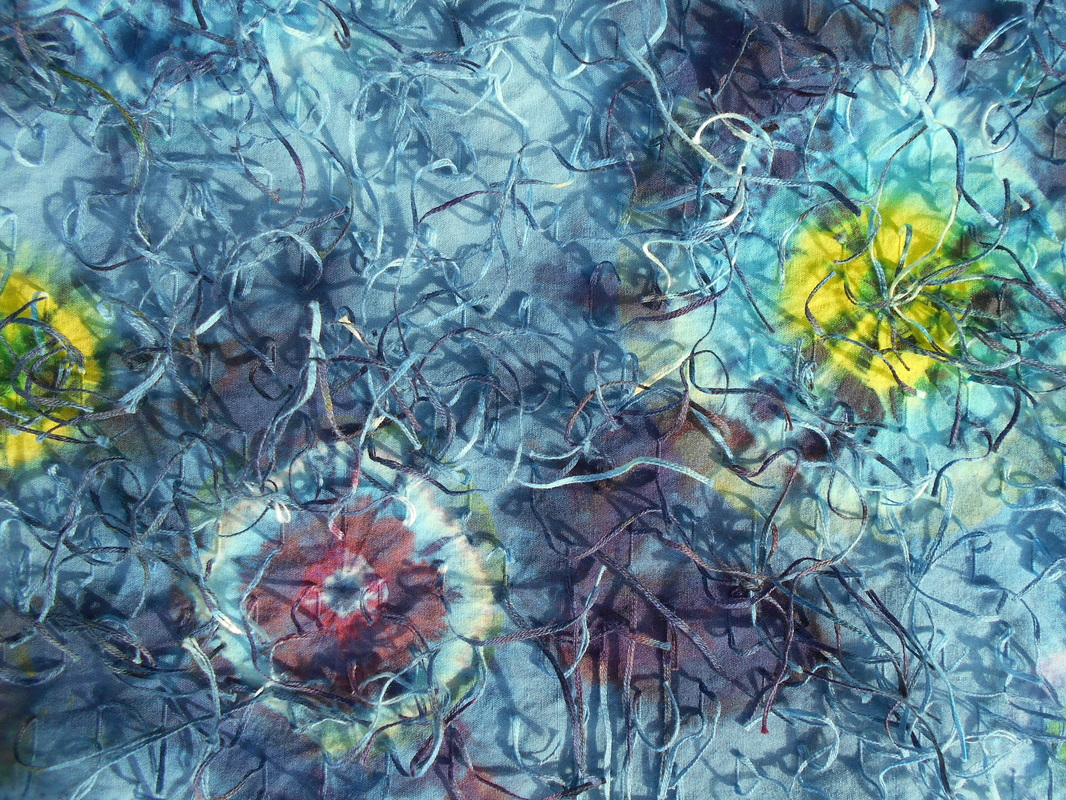
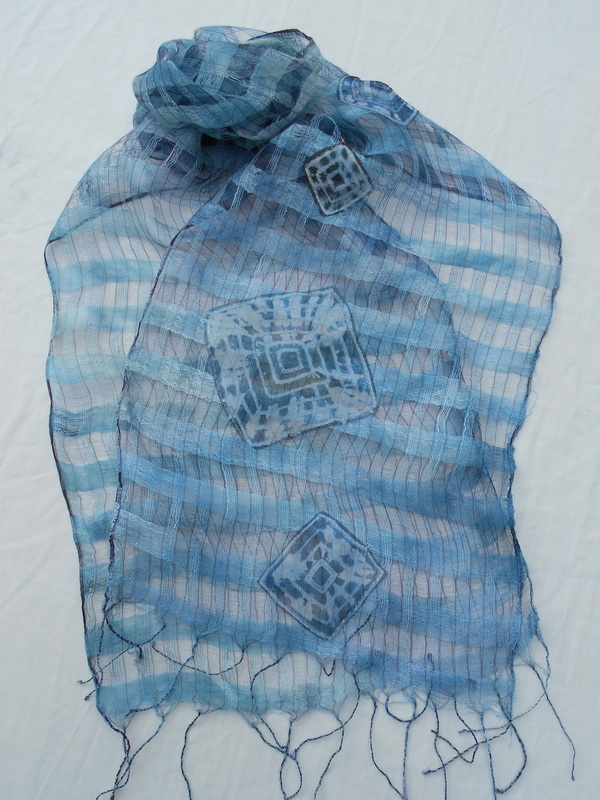
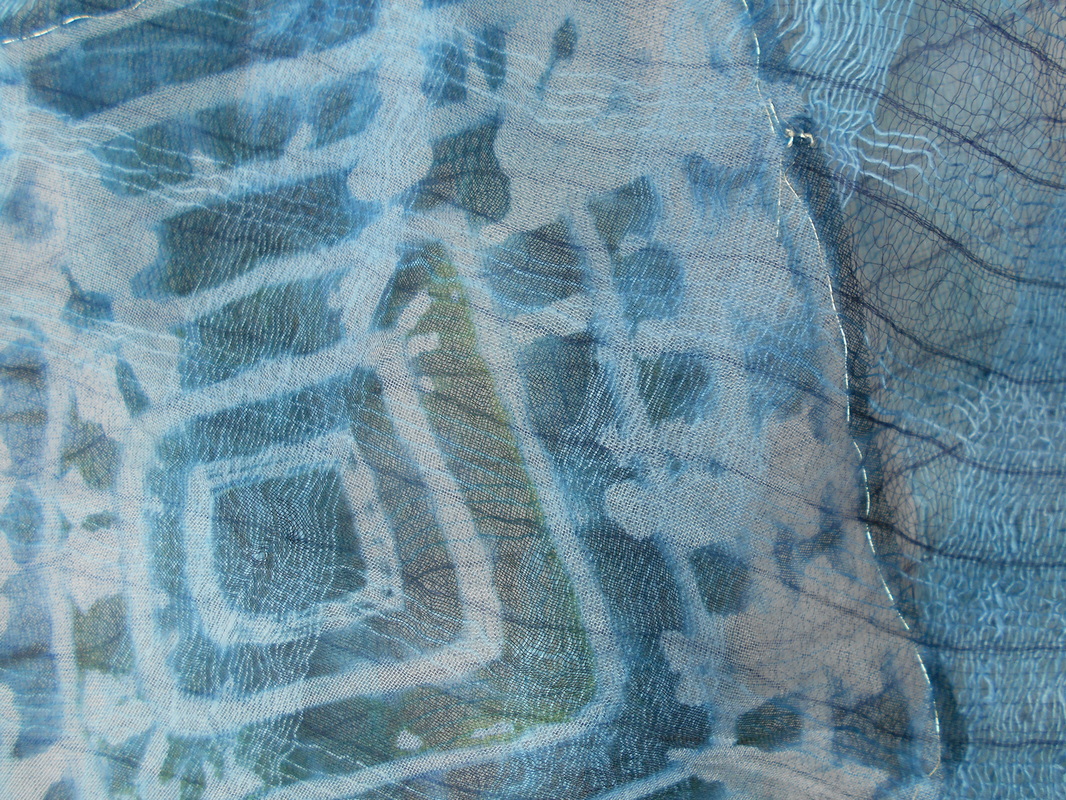
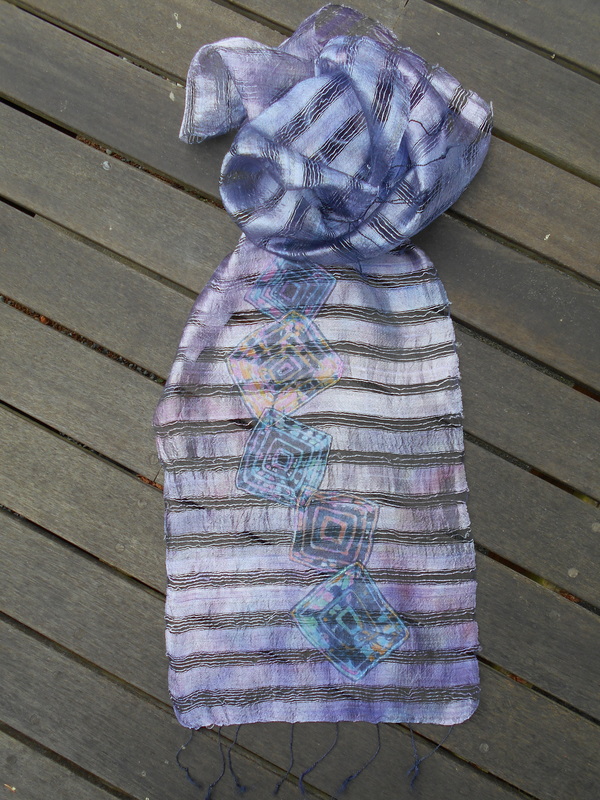
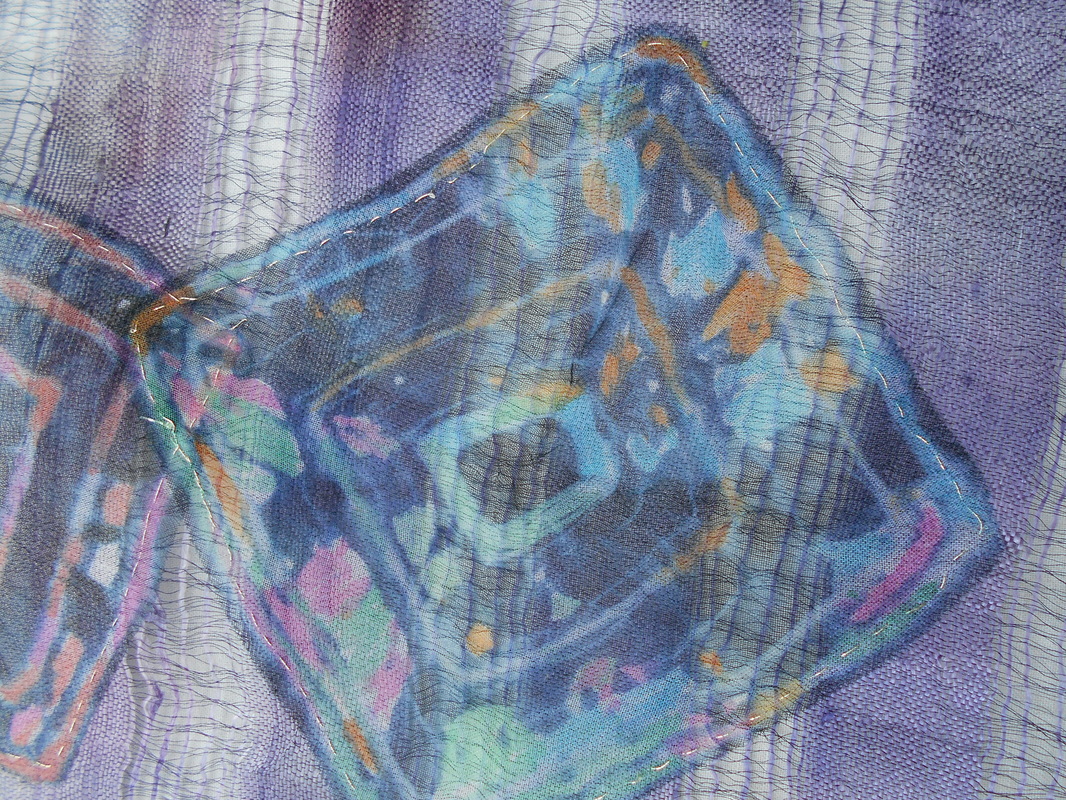
As much as I love making hats, sometimes my creativity searches out a new, or sometimes well worn, path to get out of the normal pattern. This time it was back to dyeing, the kind that allows for a lot of serendipity: ice dyeing. I have a stash of beautiful gossamer silk scarves that I either bought myself in Japan or had a friend bring back for me. They form a constant presence in my mind thinking about how to best highlight their incredibly transparent, loosely woven structure. I could almost say, I feel a responsibility to the weavers, whoever they were, to give their finely conceived and executed work the most exquisite coloration I can dream up. The strange irony is that, after giving a lot of thought to how to make their beauty shine, I found out from a friend who reads Japanese that the scarves were not woven in Japan but in India. I laughed... but my commitment to create something surreally beautiful didn't change a bit. Here are all four stoles, presented together but dyed individually. 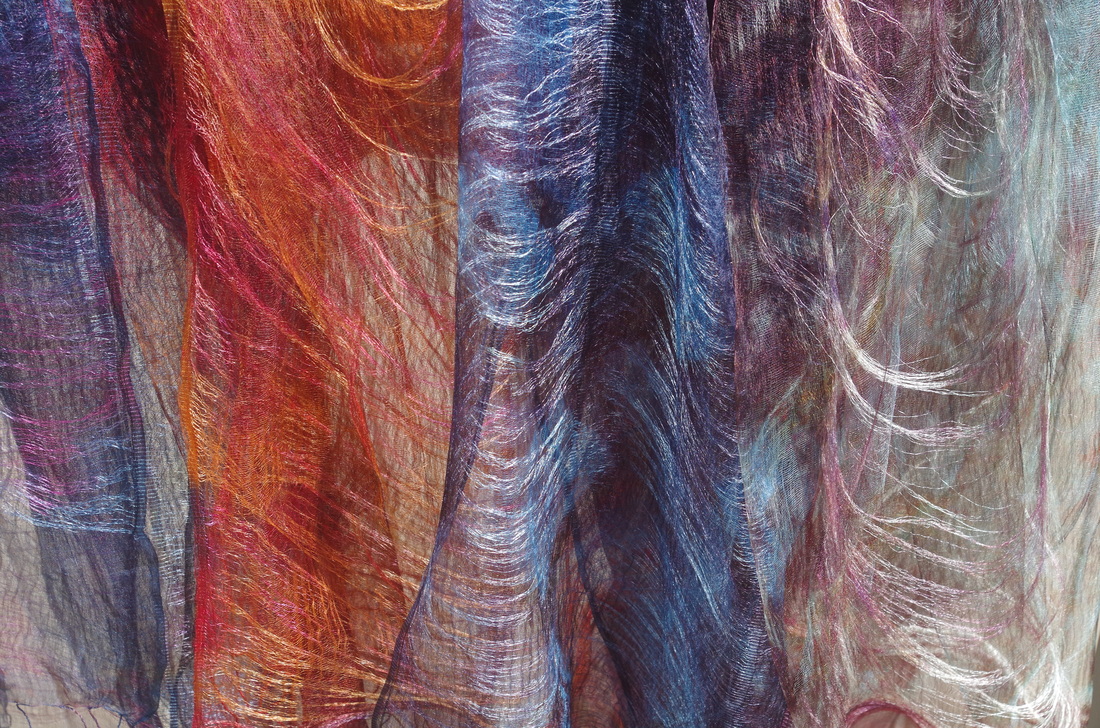 (third from left) This stole had the most stable weave structure. That's why I picked it to actually try some shibori on it. The picture was taken with "flash" which intensified the appearance of the loose silk strands trapped between layers of plain weave... see below. 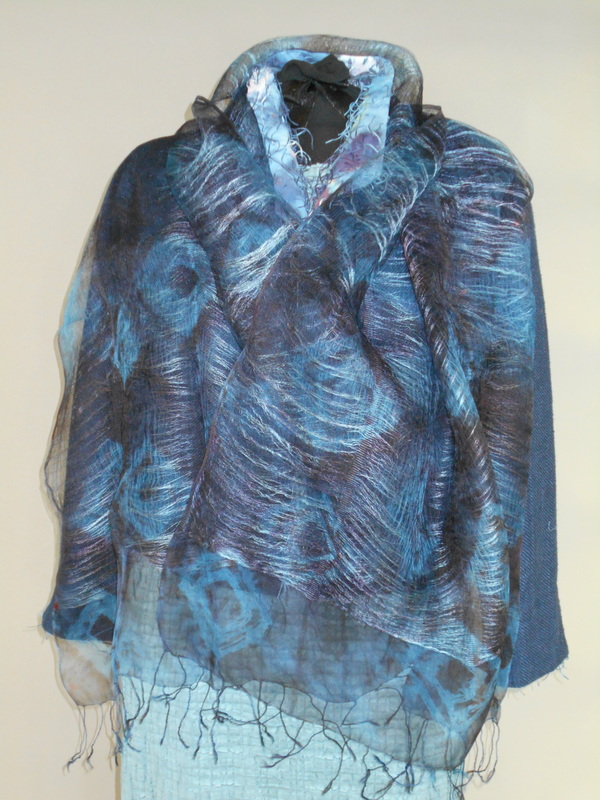 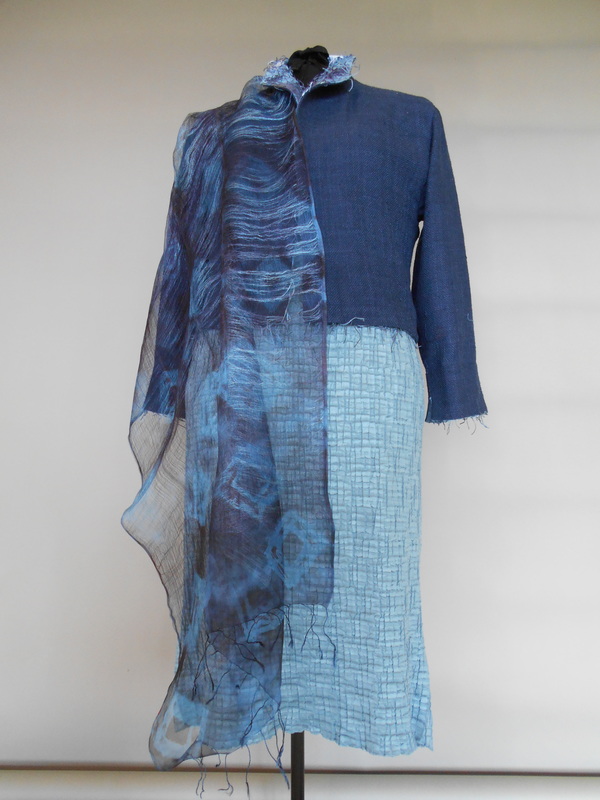 "No flash" prevented light bouncing off the reflective silk strands. It creates a different effect. More color difference, less reflectivity. See below. Notice warpwise plain weave stripes 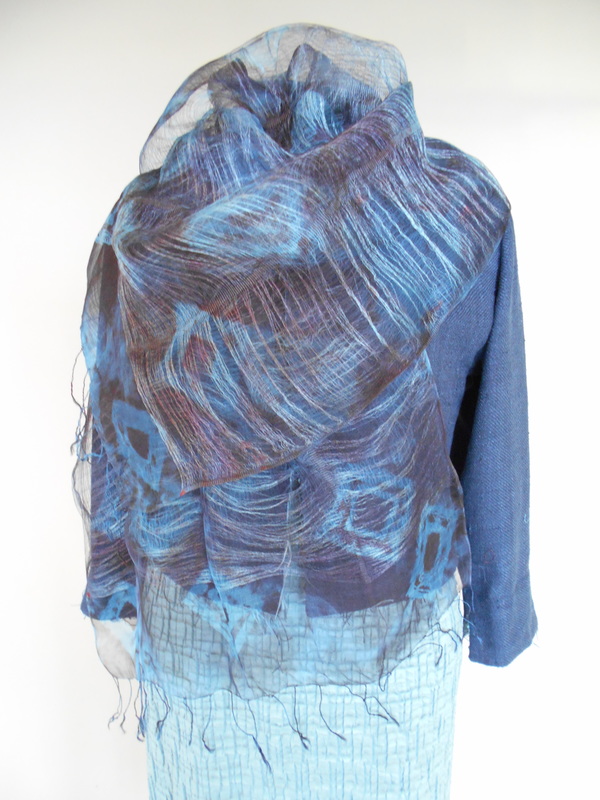
|
Archives
October 2016
Categories |
Hue & Dye
 RSS Feed