• Home
  • SHIBORI HATS
  • PROCESS
  • FEATURES
  • ABOUT ME
  • CONTACT
  • STUDIO NEWS BLOG
  • PRESS
  • SHOWS
Hue & Dye
STUDIO NEWS

No. 5    Stepping back to a catch up with myself!

10/31/2016

0 Comments

 
​I have been creatively engaged on so many fronts in the last few months, I am way behind in describing how the developments came about. 
Let’s go back a bit.  After accomplishing my goal of making 24 hats based on shibori within 12 months, it occurred to me that it was time to stop forging ahead and instead acquire some of the basic traditional millinery skills I had blithely skipped on the way to originality. In June I took a three day workshop with Wayne Wichern, a master of millinery in Seattle for over 30 years. 

What does traditional millinery involve? The short answer is:  Working with felt, straw and various other materials and shaping them over carved wooden hat blocks to create 3-dimensional forms.  
​
I made three hats during the workshop, one felt and two straw, but I'm only showing you the felt hat for now.
​
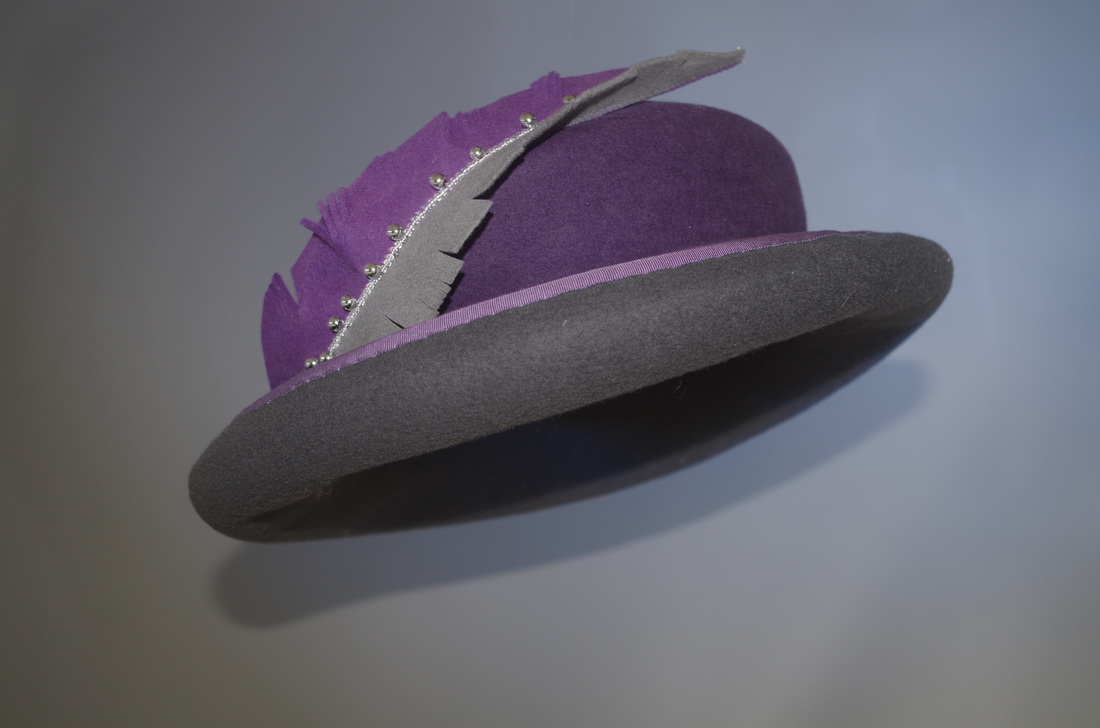
​This is the felt hat,  presenting its "everyday look", folded down for a flatter appearance.
Picture
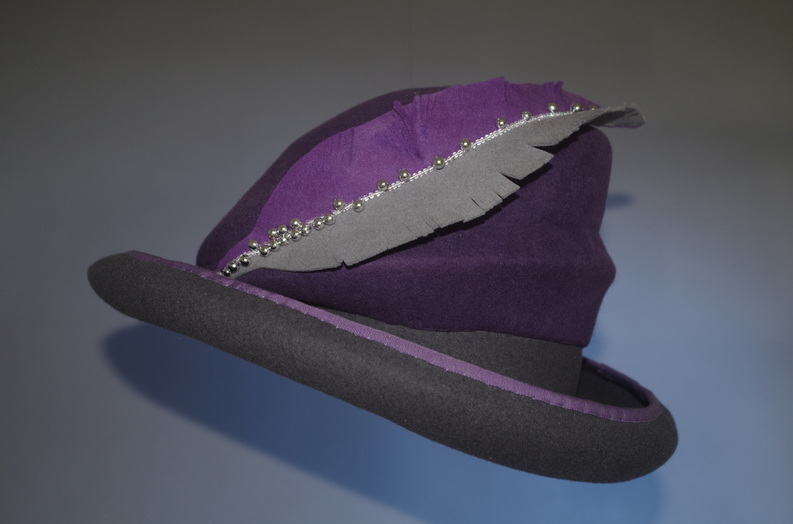
And here is the "up"scale version, unfolded for more height and impact.
Picture
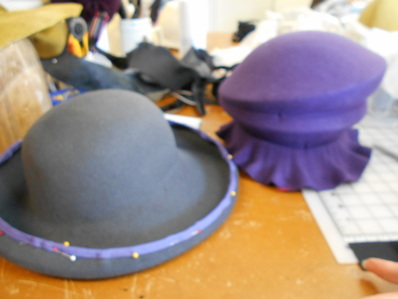
The picture on the right below shows the two complete shapes necessary to make the hat I wanted.

Even when treading into new territory, it is almost impossible to leave behind one’s predilections and tendencies.  So it was in this case.  Not surprisingly, I was led to not just select one color for my first felt hat but two.  I chose to make the crown out of purple felt and the brim out of grey felt.  


​Not only did the two colors make the process more complicated, but I also chose an interesting asymmetrical pleated crown block.  This choice evolved into a delightful surprise because eventually, with a little steaming and stretching, I was able to turn it into a “convertible” crown with two very different looks.  One folded down “for everyday” and another one unfolded for more height and impact.

Picture
Below is the brim part in progress, bottom up. The center hides the provisional crown, upside down
Picture
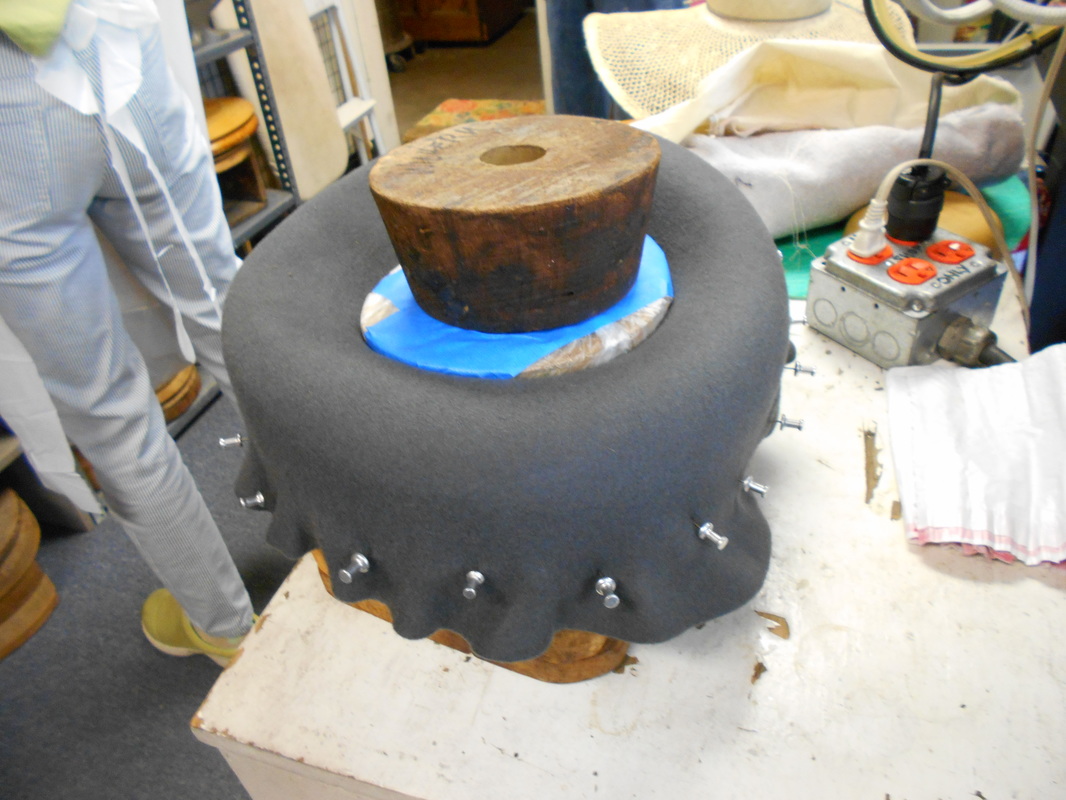
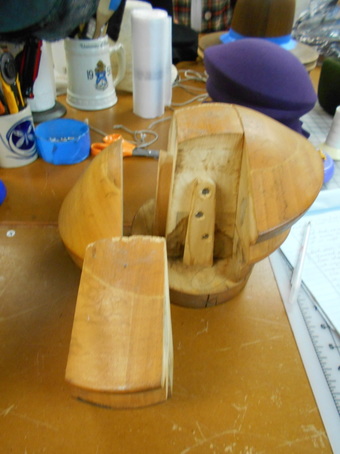
Below is the puzzle hat block I used to achieve the pleated crown.​  Traditional hat blocks are works of artful ingenuity designed to come apart to withdraw their volume from the concave shape of the new hat crown once it has been steamed and left to dry.
Picture
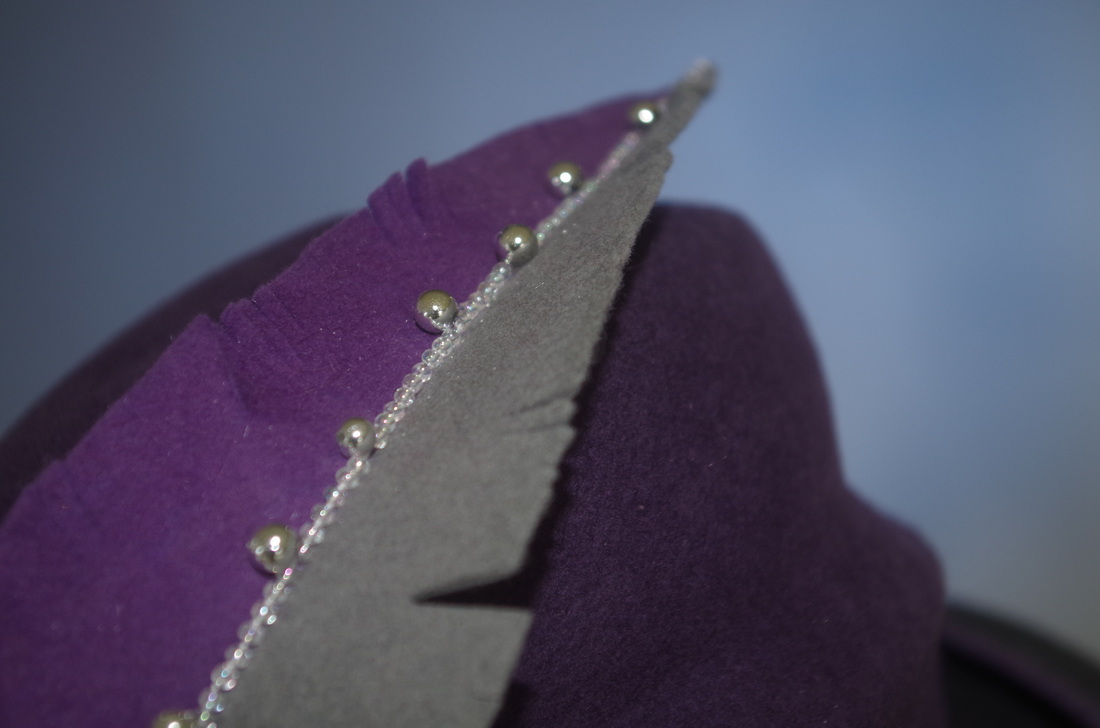
What is a hat without trim?  Boooring!  So, here is a new technique I learned:  
​Use your leftovers (or someone else's) and create a felt feather embellished with beads to catch the light.
Picture
Wear hats!  Enjoy Headonism!
0 Comments

No. 4  When the going gets tough, the tough.... dye

10/1/2016

0 Comments

 
As much as I love making hats, sometimes my creativity searches out a new, or sometimes well worn, path to get out of the normal pattern.  This time it was back to dyeing, the kind that allows for a lot of serendipity: ice dyeing.  
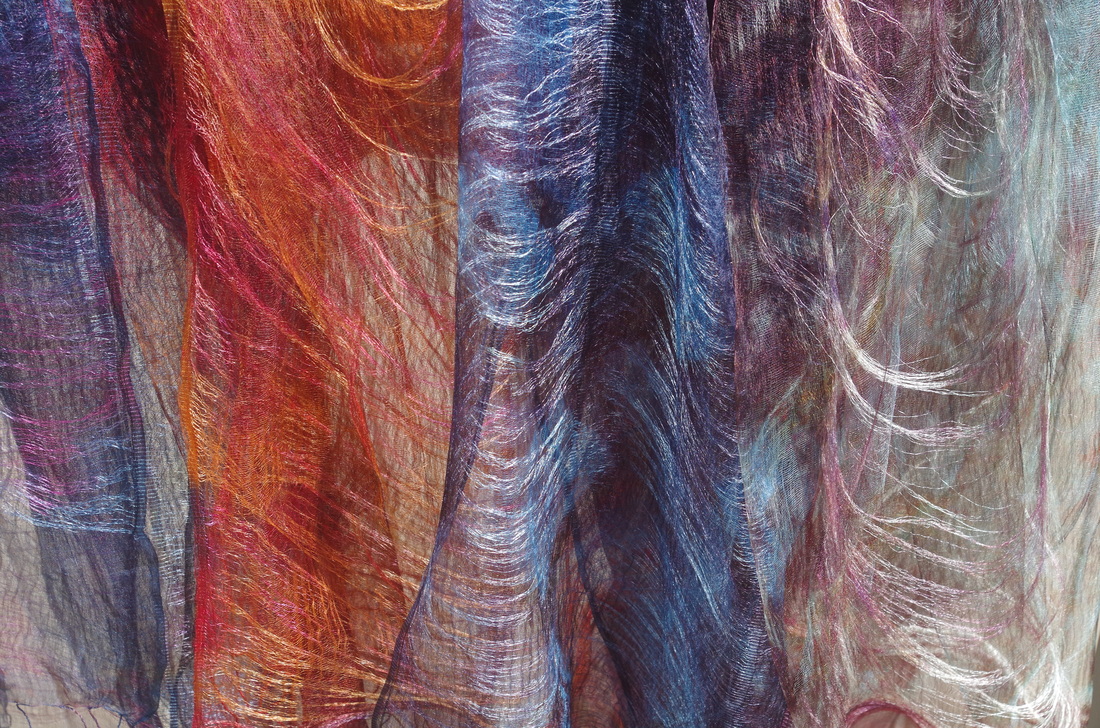
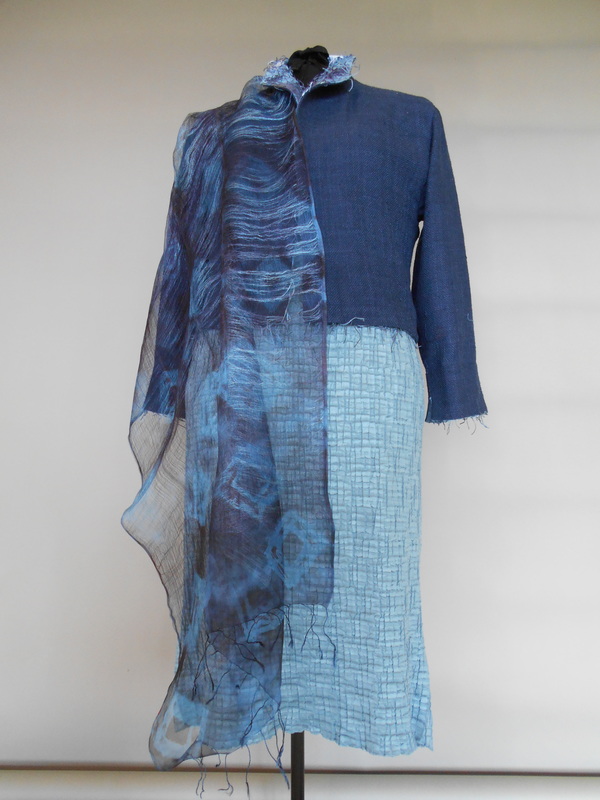
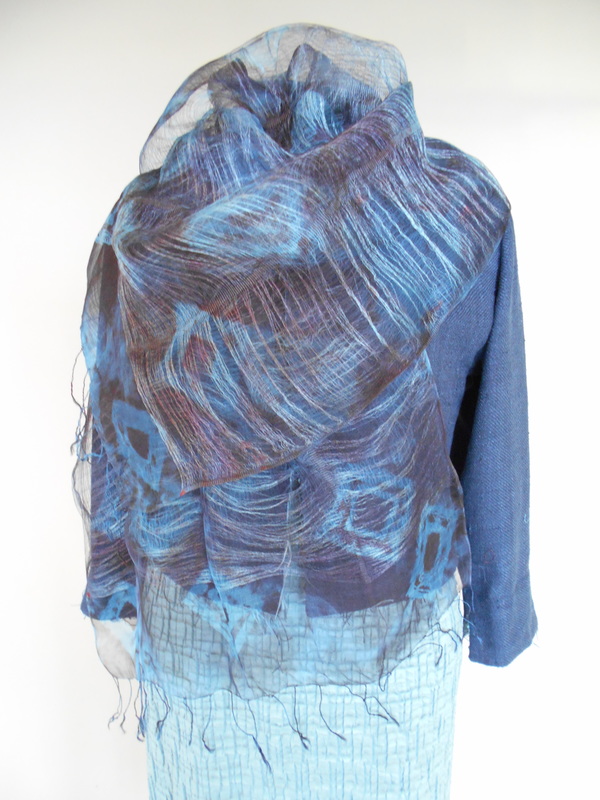
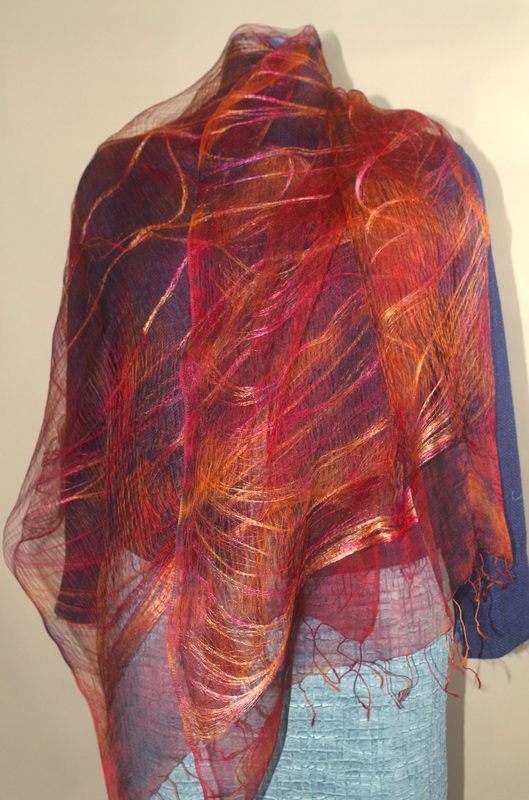
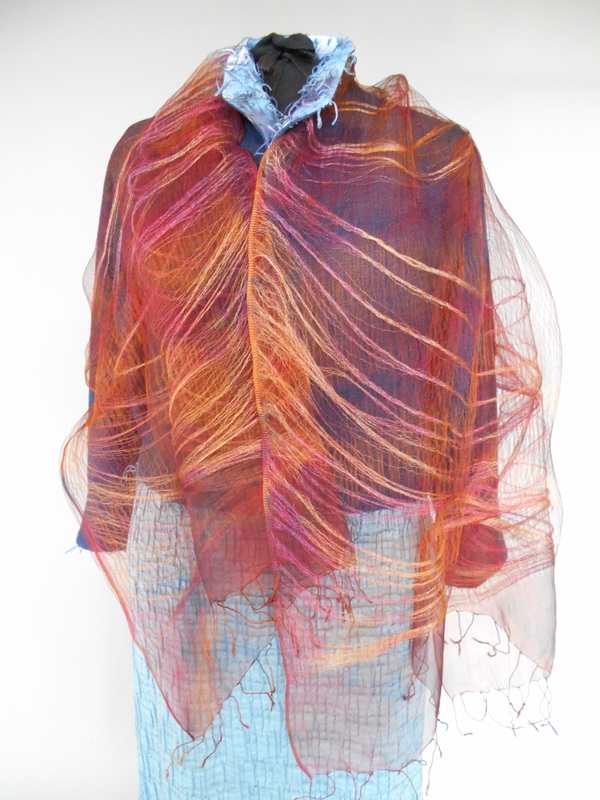
I have a stash of beautiful gossamer silk scarves that I either bought myself in Japan or had a friend bring back for me.  They form a constant presence in my mind thinking about how to best highlight their incredibly transparent, loosely woven structure.  I could almost say, I feel a responsibility to the weavers, whoever they were, to give their finely conceived and executed work the most exquisite coloration I can dream up.  The strange irony is that, after giving a lot of thought to how to make their beauty shine, I found out from a friend who reads Japanese that the scarves were not woven in Japan but in India. I laughed... but my commitment to create something surreally beautiful didn't change a bit.

​Here are all four stoles, presented together but dyed individually.

​
Picture
 (third from left)
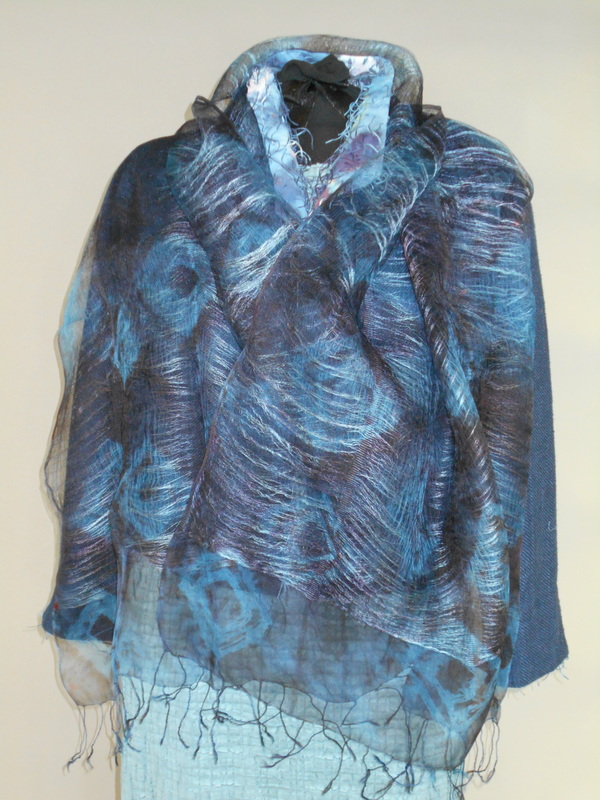
​This stole had the most stable weave structure.  That's why I picked it to actually try some shibori on it.   The picture was taken with "flash" which intensified the appearance of the loose silk strands trapped between layers of plain weave... see below.
Picture
Picture

"No flash" prevented light bouncing off the reflective silk strands.  It creates a different effect.  
​More color difference, less reflectivity.  See below.  Notice warpwise plain weave stripes
Picture


​The second stole has selvedge to selvedge loose strands between layers of plain weave.

Picture
Picture
0 Comments

 No. 3  The further Adventures of Nuno gone Shiva

9/10/2016

0 Comments

 
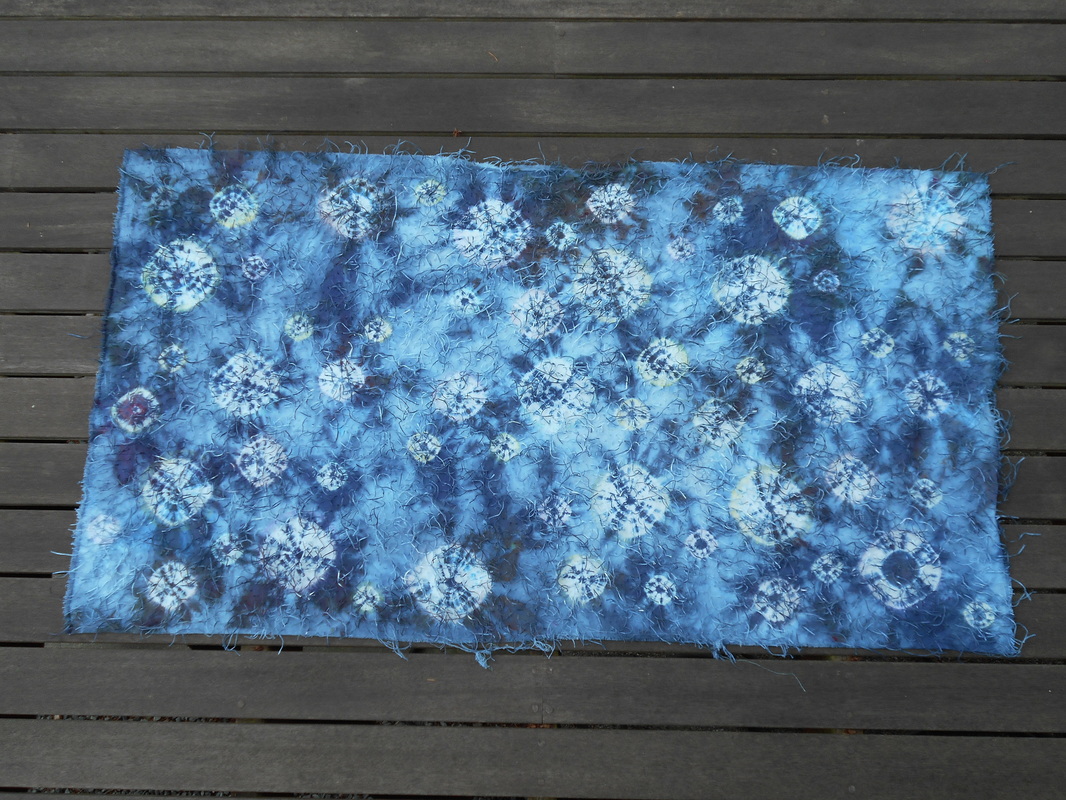
Fabric purchased at Nuno in Tokyo after Shiva paint stick stenciling and ice dyeing with Procion MX.  
​The high contrast wiped out the pastel Shiva designs.  Now what?
Picture

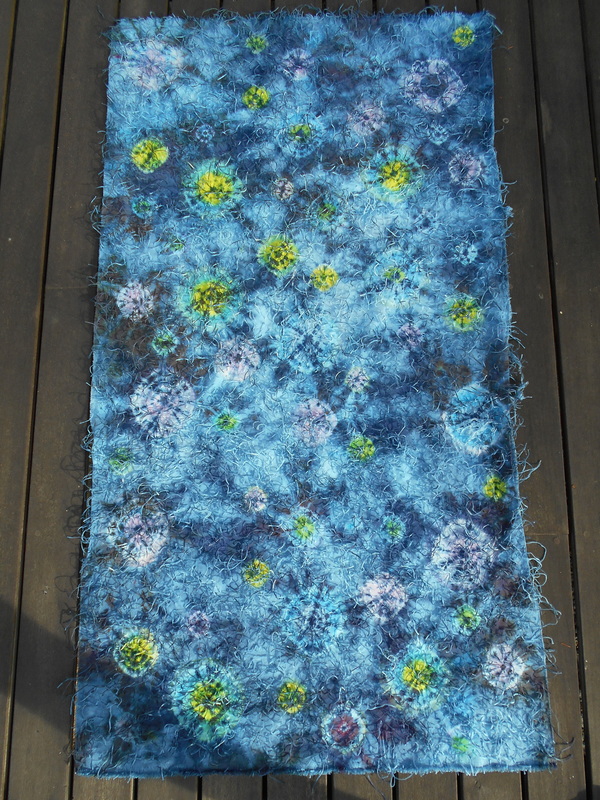
Fabric after painting the shibori designs with dye. Yellow, turquoise and pink
Picture


​

​So, here I was
with a very interesting piece of fabric but so little of it.  Only 51x28, oy veh! 

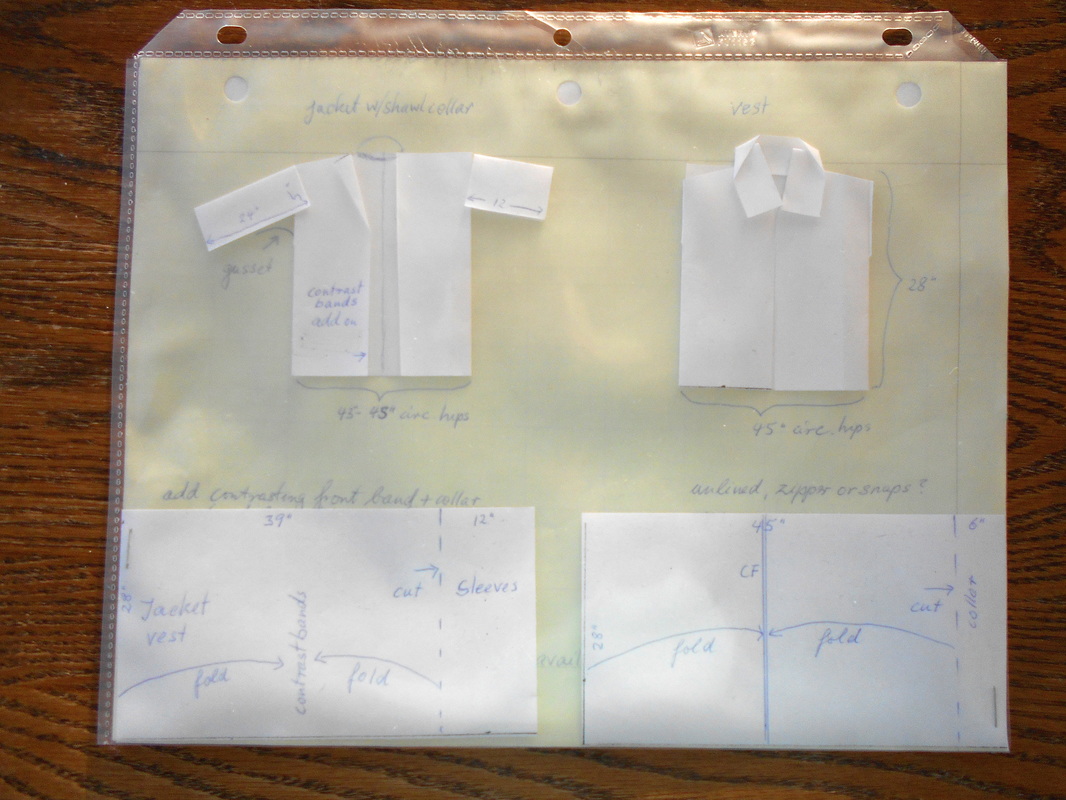
I mulled over the possibilities in my head for a while and then decided I needed to play with paper dolls again. I reduced the size of the available piece to scale, copied it multiple times to cut and paste it in a variety of ways to come up with the vest or jacket pattern that made the most sense.  


No. 1.  I tried a jacket version that would allocate a 12" wide strip cut from the short side (front edge) for trimming the top of the sleeves.  But that would require adding a contrasting band on the front edges in order to have enough to go around the body.


No. 2.  I only cut the equivalent of a 6" strip off the short side for the collar of a sleeveless vest.

I only got through those two versions, but the process did exactly what was is intended to do:
It made me play! I let go of preconceived notions and a-l-l-o-w-e-d the
intersection of previous unconnected matrices of thought. 
(That is Arthur Koestler's definition of creativity.  I remember it from 30 years ago because it applies to all areas of human endeavor, from math to music and everything in between.)
​That's when the fog lifted:  I hardly ever wear vests because, if I'm cold enough to wear a vest, my arms will be cold without sleeves.  So there!  It's gotta be a jacket.  But how? And with what?

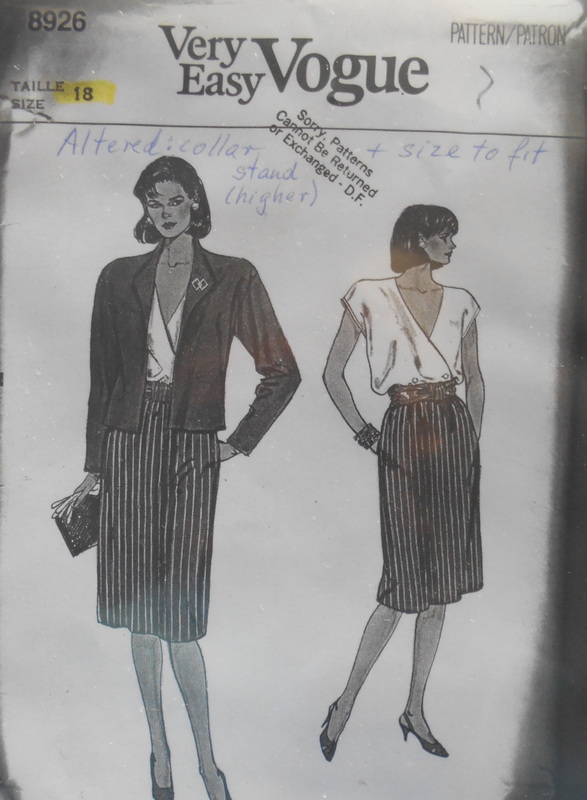
​While playing with version No. 2, I remembered an old Vogue jacket pattern I had used before. It occurred to me that I could make the body two-sided, like a reversible vest, and still have sleeves.  They would be made from a contrasting fabric that would become the lining/reversible side of the jacket.  It is like joining a vest to a jacket!  Simple.  No problem....! Really?  
​What fabric/color to use for the jacket (which would also be the lining of the vest)?  Searching through my stash resulted in rediscovering a beautiful but somewhat loosely woven and therefore tender raw silk twill in a smashing dark indigo color.  Perfect!  It had been buried for a looong time.  Onward... time to play wit paper dolls again.
Picture
No. 1.     I tried a jacket version that would allocate a 12" wide strip cut from the short side (front edge) for trimming the top of the sleeves.  But that would require adding a contrasting band on the front edges in order to have enough to go around the body.
No. 2.     I only cut the equivalent of a 6" strip off the short side for the collar of a sleeveless vest.

I only got through those two versions, but the process did exactly what was is intended to do:
It made me play! I let go of preconceived notions and  a-l-l-o-w-e-d the 
intersection of previously unconnected matrices of thought. 
(That is Arthur Koestler's definition of creativity.  I remember it from 30 years ago because it makes sense and applies to all areas of human endeavor, from math to music and everything in between.)
​
​
That's when the fog lifted:  I hardly ever wear vests because, if I'm cold enough to wear a vest, my arms will be cold without sleeves.  So there!  It's gotta be a jacket.  But how? And with what?

​While playing with version No. 2, I remembered an old Vogue jacket pattern I had used before. It occurred to me that I could make the body two-sided, like a reversible vest, and still have sleeves.  They would be made from a contrasting fabric that would become the lining of the vest and also the reversible side of the jacket.  It is like joining a vest to a jacket!  Simple.  No problem....! Really?  
​
Picture

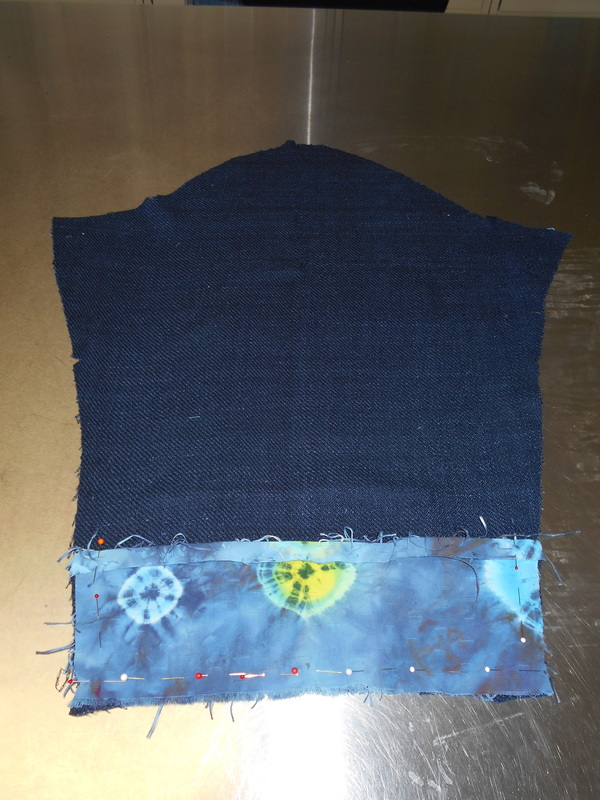
 The idea of making a reversible jacket/vest that only had one layer of fabric for the sleeves but two layers for the body required making sleeves with finished seams on the inside as well as on the outside.  
Additionally, the cuffs were to have the shibori fabric on the outside.

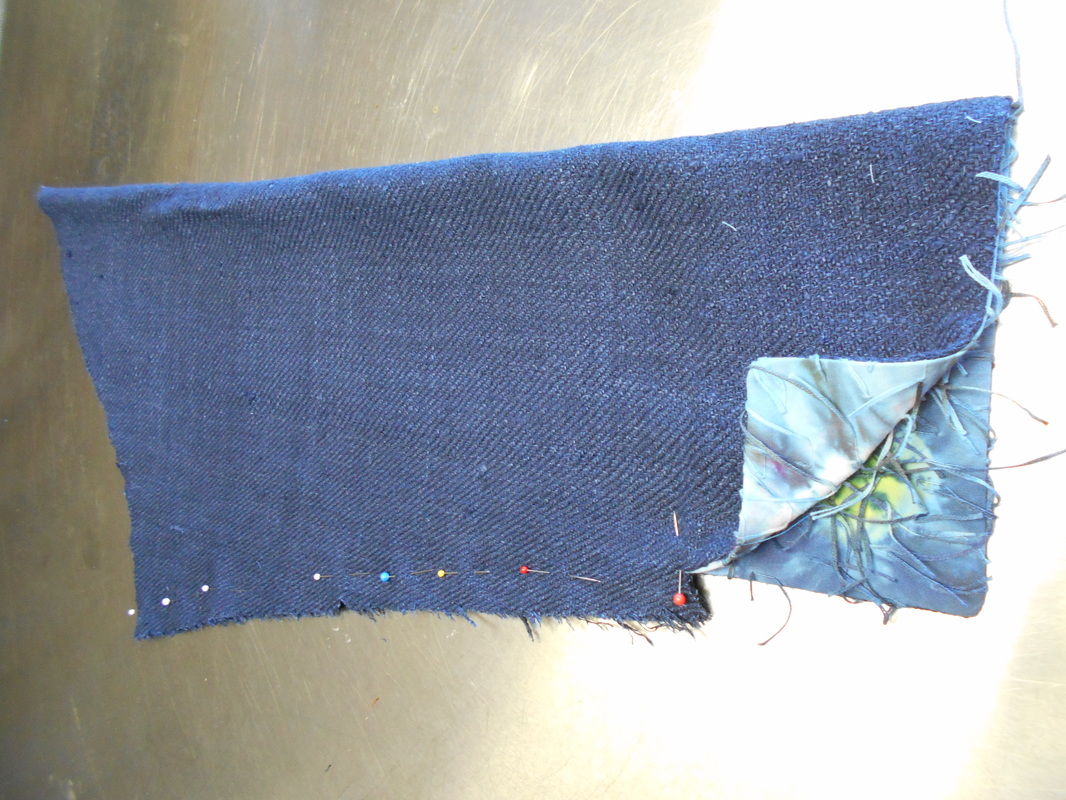
​I finished the cuffs by sewing the shibori fabric to the outside of the jacket sleeves, right sides together, then turned the cuffs right sides out, clipped the seam allowances just above the cuff in order to turn the sleeve allowance the other way and to sew the seam.

Picture
This created a finished seam on the same side of the fabric as the finished cuff.
Picture
I turned the seam into a flat felled seam by doing the following: One side of the seam allowance was graded, the other side was turned under, pressed and hand sewn to the sleeve.  This allowed for a finished appearance  on both sides, 

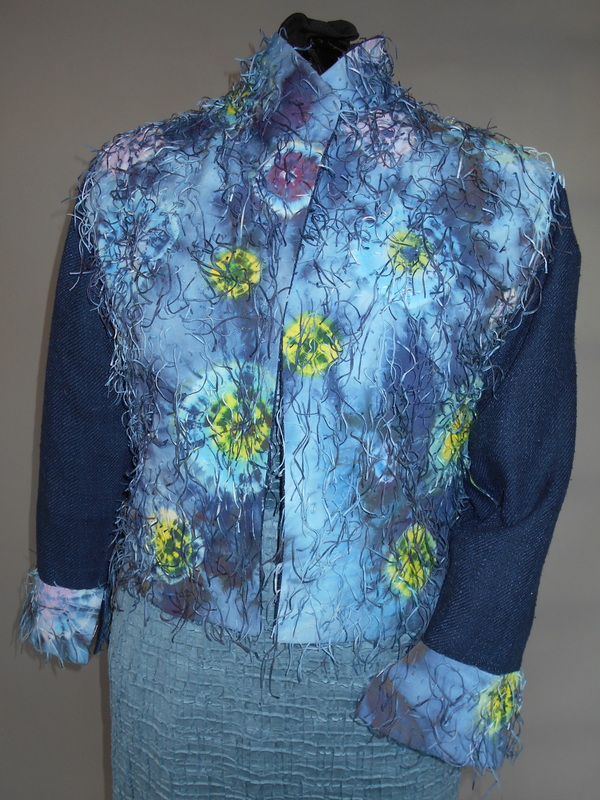
​The rest of the blue raw silk jacket=lining (reversible side) was sewn as usual. (Yeah, except it gets confusing  as to which side of the sleeve is the outside.  So, I did manage to sew one sleeve in inside out!  Practice makes perfect.) The only thing unconventional was that the armhole seams were pressed towards the body to eventually hide them behind the turned under seam allowance of the shibori vest.  Before joining the jacket=lining and the shibori vest, the armholes of the shibori vest were stitched to reinforce them at the underarm in both directions for about 5" to safely clip the seam allowances before  pressing them under.

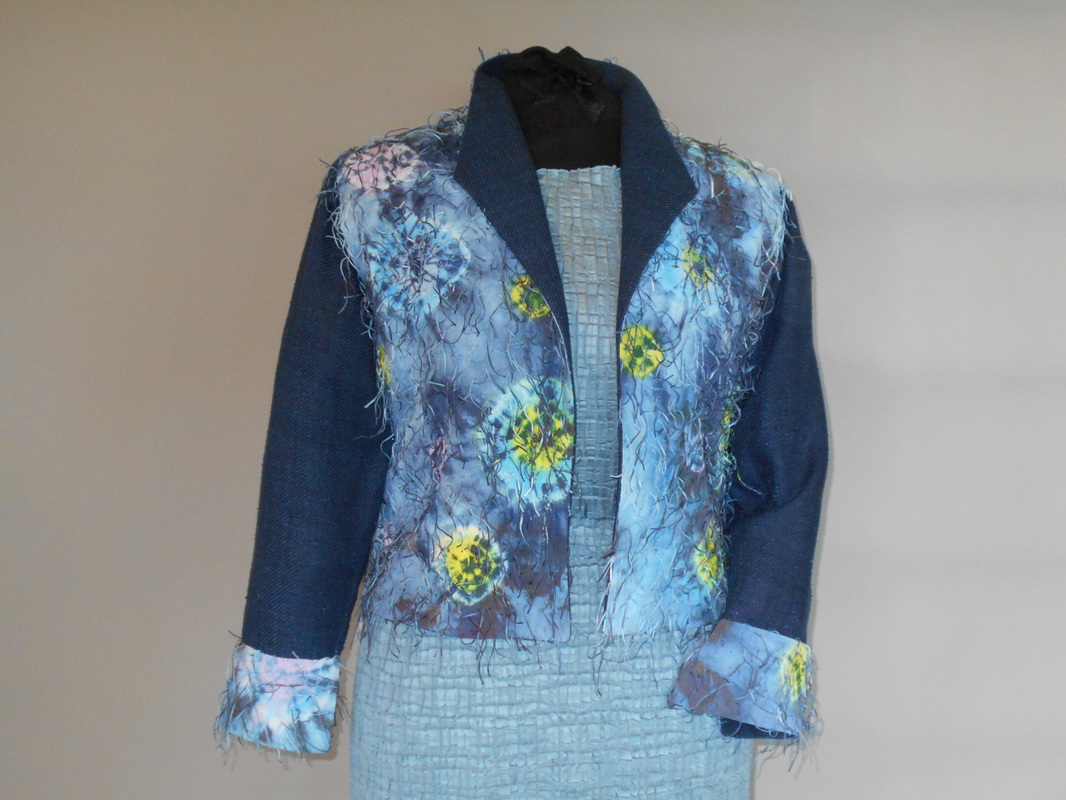
​The completed jacket=lining was sewn to the completed shibori vest around all the edges as usual, right sides together, leaving the armhole edges open.  The seams were graded and clipped at the corners. After the garment was turned right side out through one of the armholes and the seams were pressed, the armhole edges of the shibori vest were matched with the armhole seam of the jacket=lining, pinned and hand sewn in place.  Voilà
Picture
Center front detail
Picture
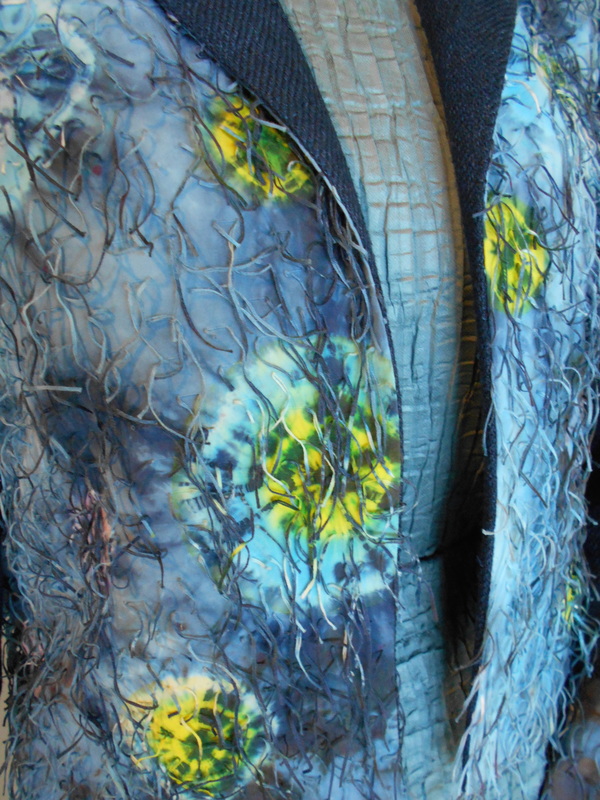
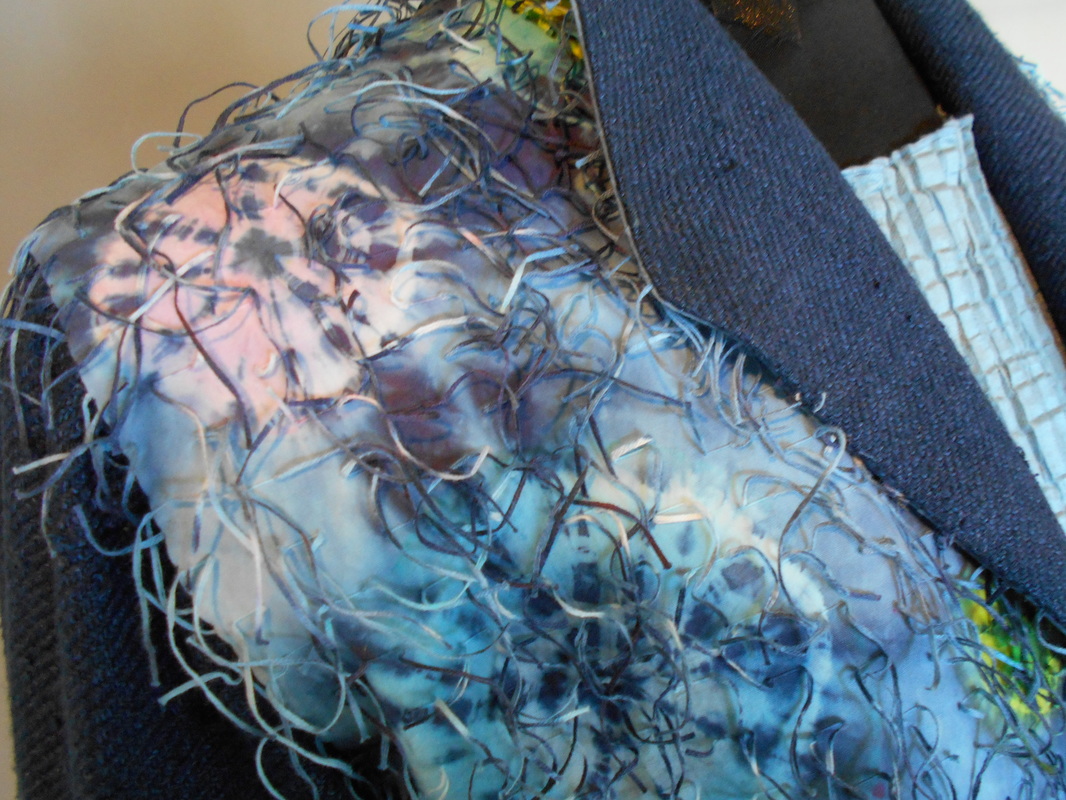
Too bad that one dark purple shibori design ended up on the underside of the lapel.  I would have loved to have that somewhere else on the front.  That's what you get when you experiment.... nice things happen in the wrong place.
Picture

​Front.  Lapel detail
Picture

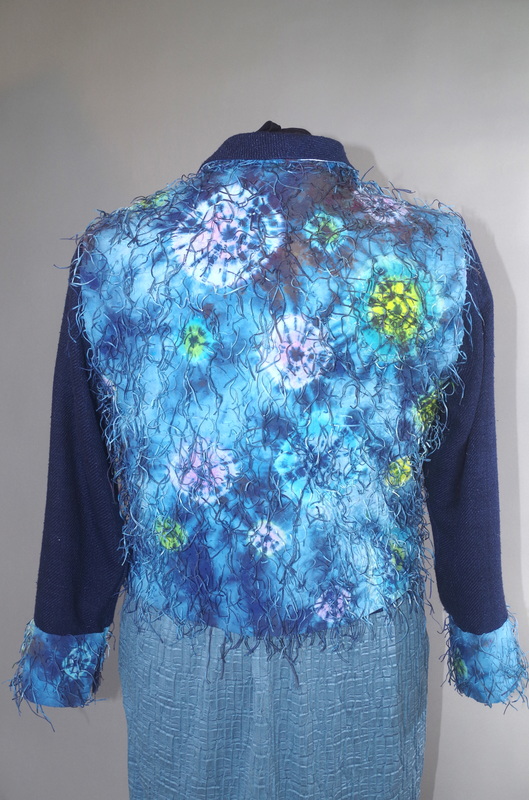
Back of jacket-vest.  I call  it ANTICIPATION..... It might go with me on a far away journey.
Picture
0 Comments

No. 2  Spontaneous experiment with fabric from Nuno.

9/3/2016

2 Comments

 
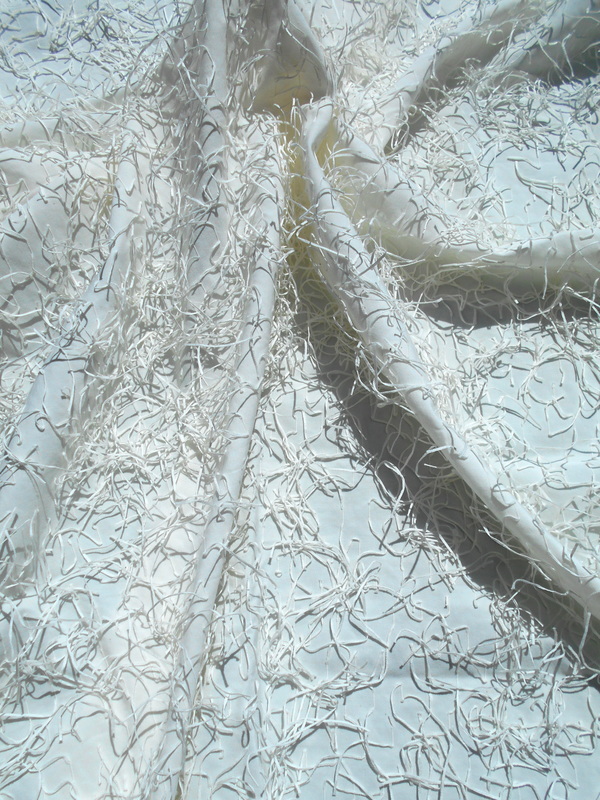
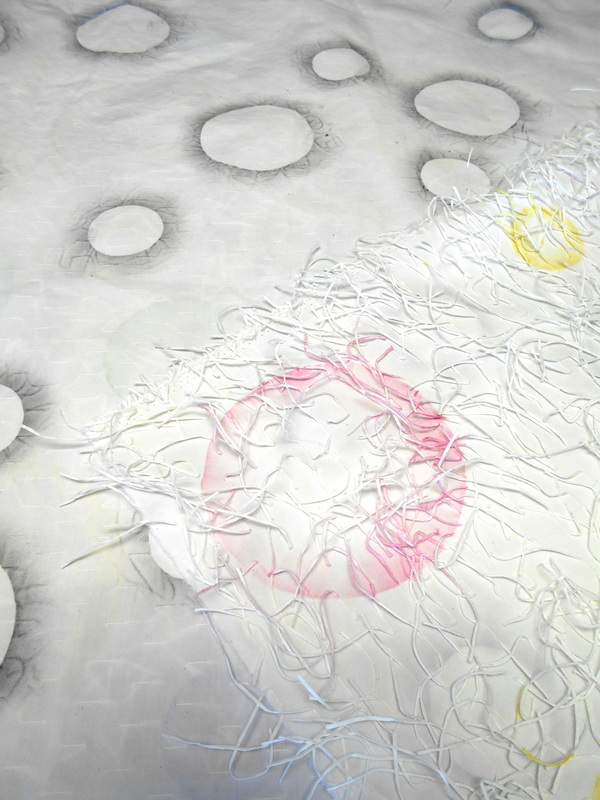
I had taken off some time in July and August from working all the time, after finishing my goal of 24 shibori hats in 12 months. Summer activities, family gatherings, staring into space filled the available time.  Suddenly, the urge to MAKE something sprouted up as vigorously as the weeds in my garden. NO, not hats!  My mind went directly to a very specific piece of fabric purchased at Nuno in Tokyo last June.  I went to work immediately and spontaneously; inspired by the outrageous texture that had attracted me in the first place. 
Picture
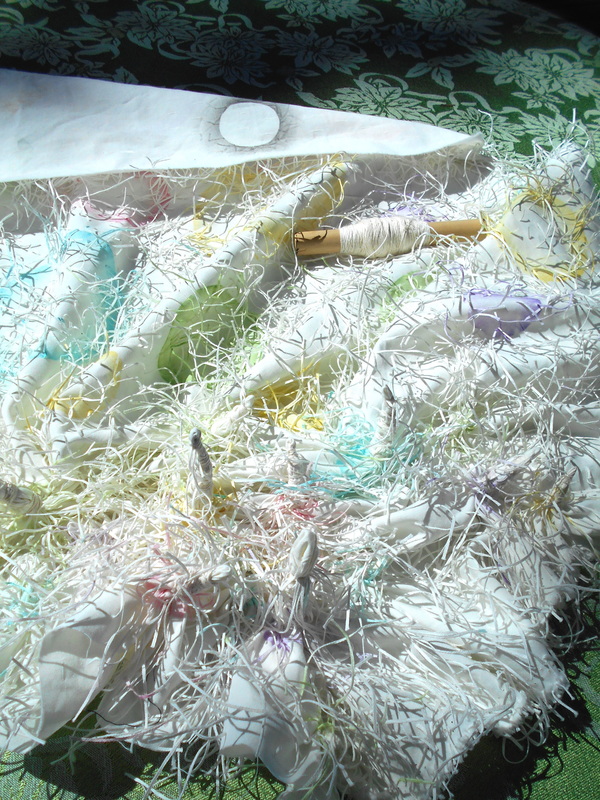
I cut a stencil of freezer paper to use with Shiva oil paint sticks. I used four colors brushing yellow, pink, green and turquoise from he edge of the stencils onto the fabric (negative space) on the textured side.  I used charcoal on the reverse for the circle shapes (positive space) placing them carefully among the shapes I had created on the textured side.  
Picture
The idea was to use the centers of the circles on the textured side as the centers for tegumo shibori designs, i.e. to have the tegumo (spider design) be contained within the circles created with Shiva.
Picture
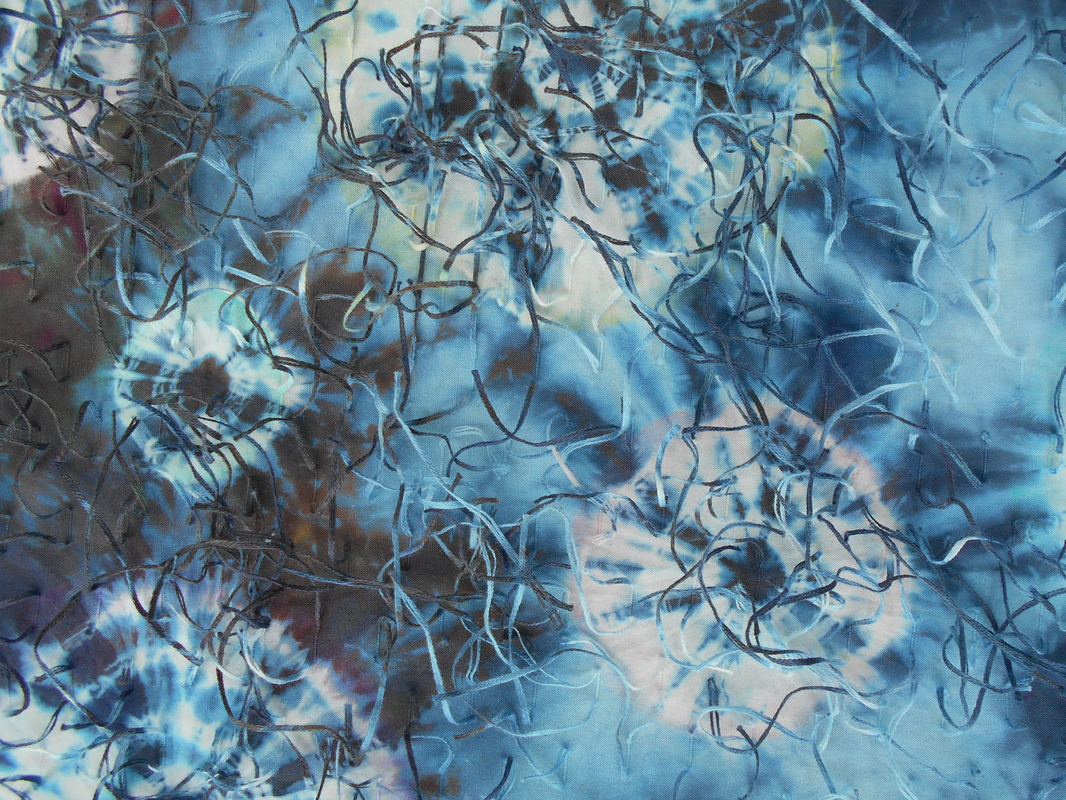
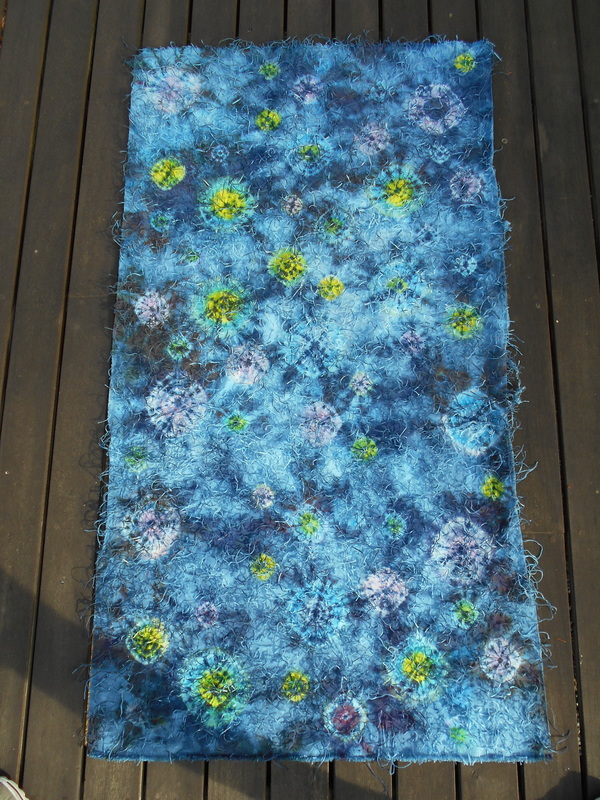
Well, it didn't quite work out as planned for the simple reason that the dye used for the shibori was much more intense than the colors of the original circles.  The circles showed up only very discretely.
Picture
OK, no problem.  I get it. Adaptation is the name of the game in experimentation.  Make lemonade!  I painted the shibori designs within the circles with dye.  The reverse side with the charcoal circle outlines is very subtle as well.  Oh well...  it adds a subtle complexity.  OK with me.
Picture
Picture
I ended up liking the piece very much.  It just is very different than I thought it was going to be.
Lesson:  Two possibilities for the Shiva circles idea to work:
1. either the Shiva needs to be applied thickly and in relatively dark colors.  Then the shibori would need to be more pastel within those circles.... or
2. if the Shiva designs are light colored, choose a lighter value for the shibori dye, so the Shiva circles don't get overwhelmed. But that would take away from the drama of contrasting values.  As usual, there are trade-offs.  What is it that I really WANT?  Can I have it ALL?  Maybe!  To find out, all I have to do it experiment some more.  But I have no more fabric like this... good! that's saves me from feeling I HAVE to do more experiments.  I can just go on to something else.

​So, now what?  My response to the fabric was immediate.  I want to make a garment.  What kind?  What can I make with this small piece (51x28)?  Stay tuned.
2 Comments

subject: shibori spin offs

8/9/2016

0 Comments

 
I love serendipity.  
That reminds me of one of the all time best jokes.  But it'll have to wait.
Back to shibori serendipity:
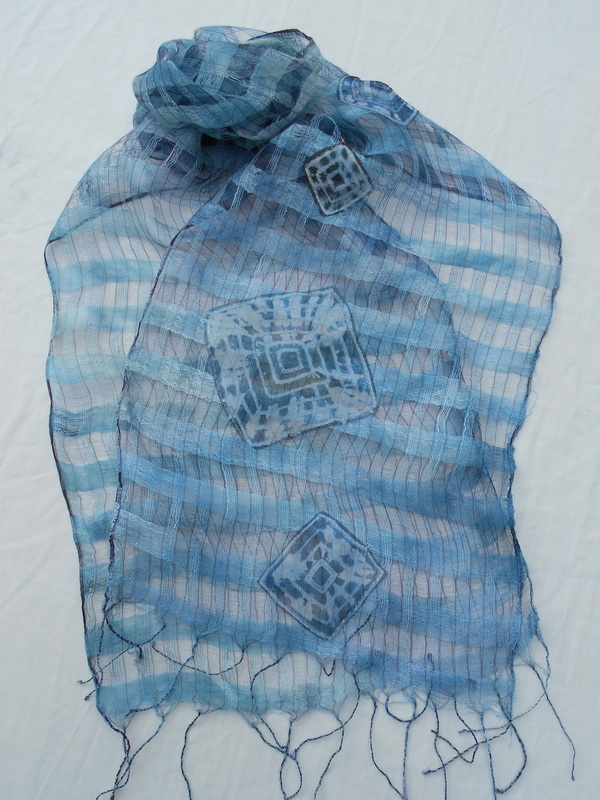
As I was working on one of the shibori series hats my eyes fell upon a couple of handwoven, gossamer scarves that I had dyed previously.  The weave is so open and delicate that I had dismissed the idea of doing shibori on them.  I didn't think it would show up (make it worth the effort) But now the time was ripe apparently for the Muse to show up unexpectedly: One look -  synapses made -  matrices of thought intersected. Boom!
What if I used the leftover shibori pieces for the hats as appliqués on the already dyed scarves?  
Stop this train, I gotta get off and try this right now.  
Sure enough, it would work!. For the blue one nothing else had to be done except to decide how to attach the organza shibori pieces.  Hand stitching with silver metallic thread seemed the best solution
Picture
Picture
​The lilac one asked for some additional embellishment to make the dark indigo blue shibori pieces blend with the pastel mauve.  How about a little coloring in with sharpie pens?  Yep, that would do it.
Picture
Picture
0 Comments

    Archives

    October 2016
    September 2016
    August 2016

    Categories

    All

    RSS Feed

  • Home
  • SHIBORI HATS
  • PROCESS
  • FEATURES
  • ABOUT ME
  • CONTACT
  • STUDIO NEWS BLOG
  • PRESS
  • SHOWS